
Drawing and Shading
How to draw and shade 3D shapes

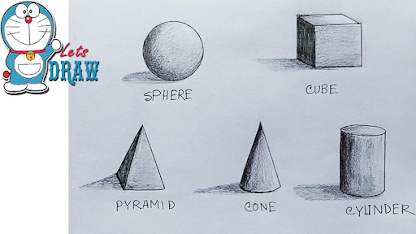
Objective: Students will learn how to draw 5,
3 dimensional shapes and shading each one.
Students will create a drawing of a
Sphere, Cube, Pyramid, Cone and Cylinder.
Student Goal - Watch the video and view all
examples, practice drawing and shading each shape,
create a final shaded still life drawing of at least 4 shapes,
shade them according to a light source and create
shadows.
Please watch my demonstration on how to draw 3D shapes.
Mrs. Miller Demonstrates Drawing 3D Shapes
Please practice drawing the 5 3D shapes.
Please view this youtube video on how to shade....
Please refer to the beginning of the video and practice
shading from dark to light with your pencil. More pressure
with the pencil, will create a darker shade. With less pressure,
the shade will be lighter.
After practicing shading, please practice shading your
shapes from day 1.
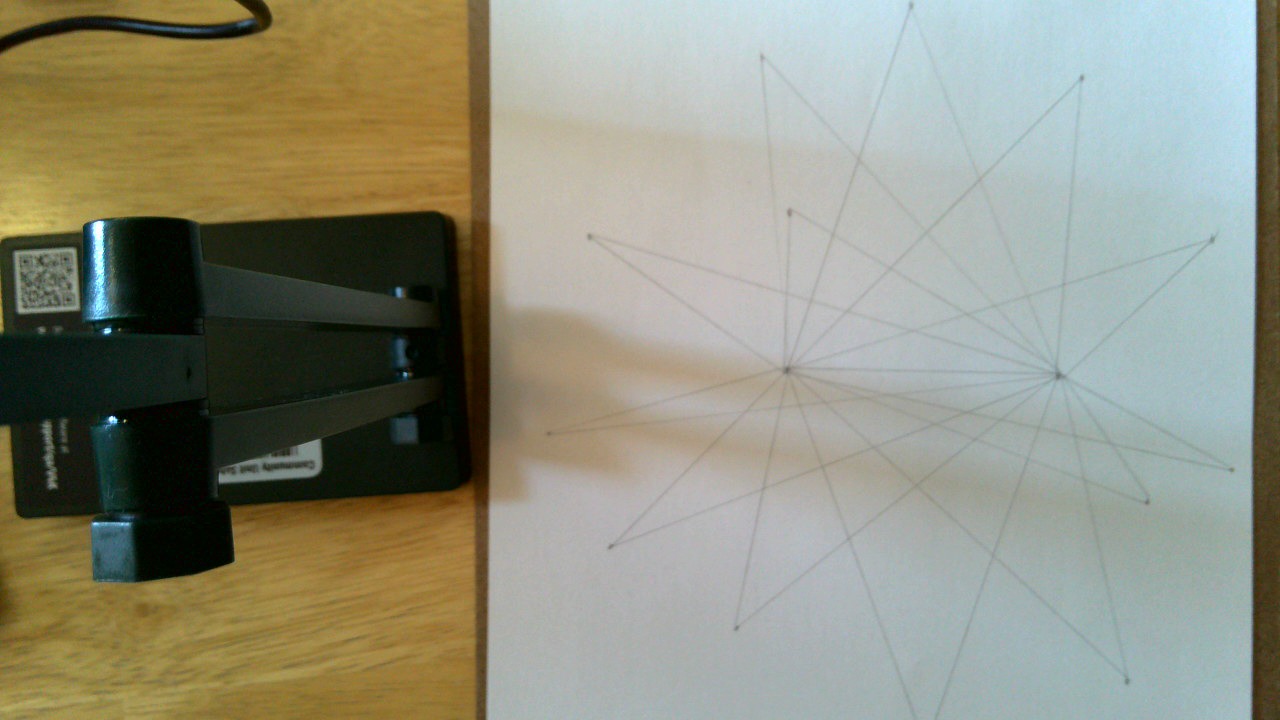
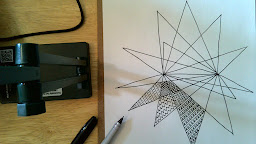
Refer to the following pictures from Google Images...
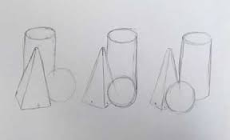
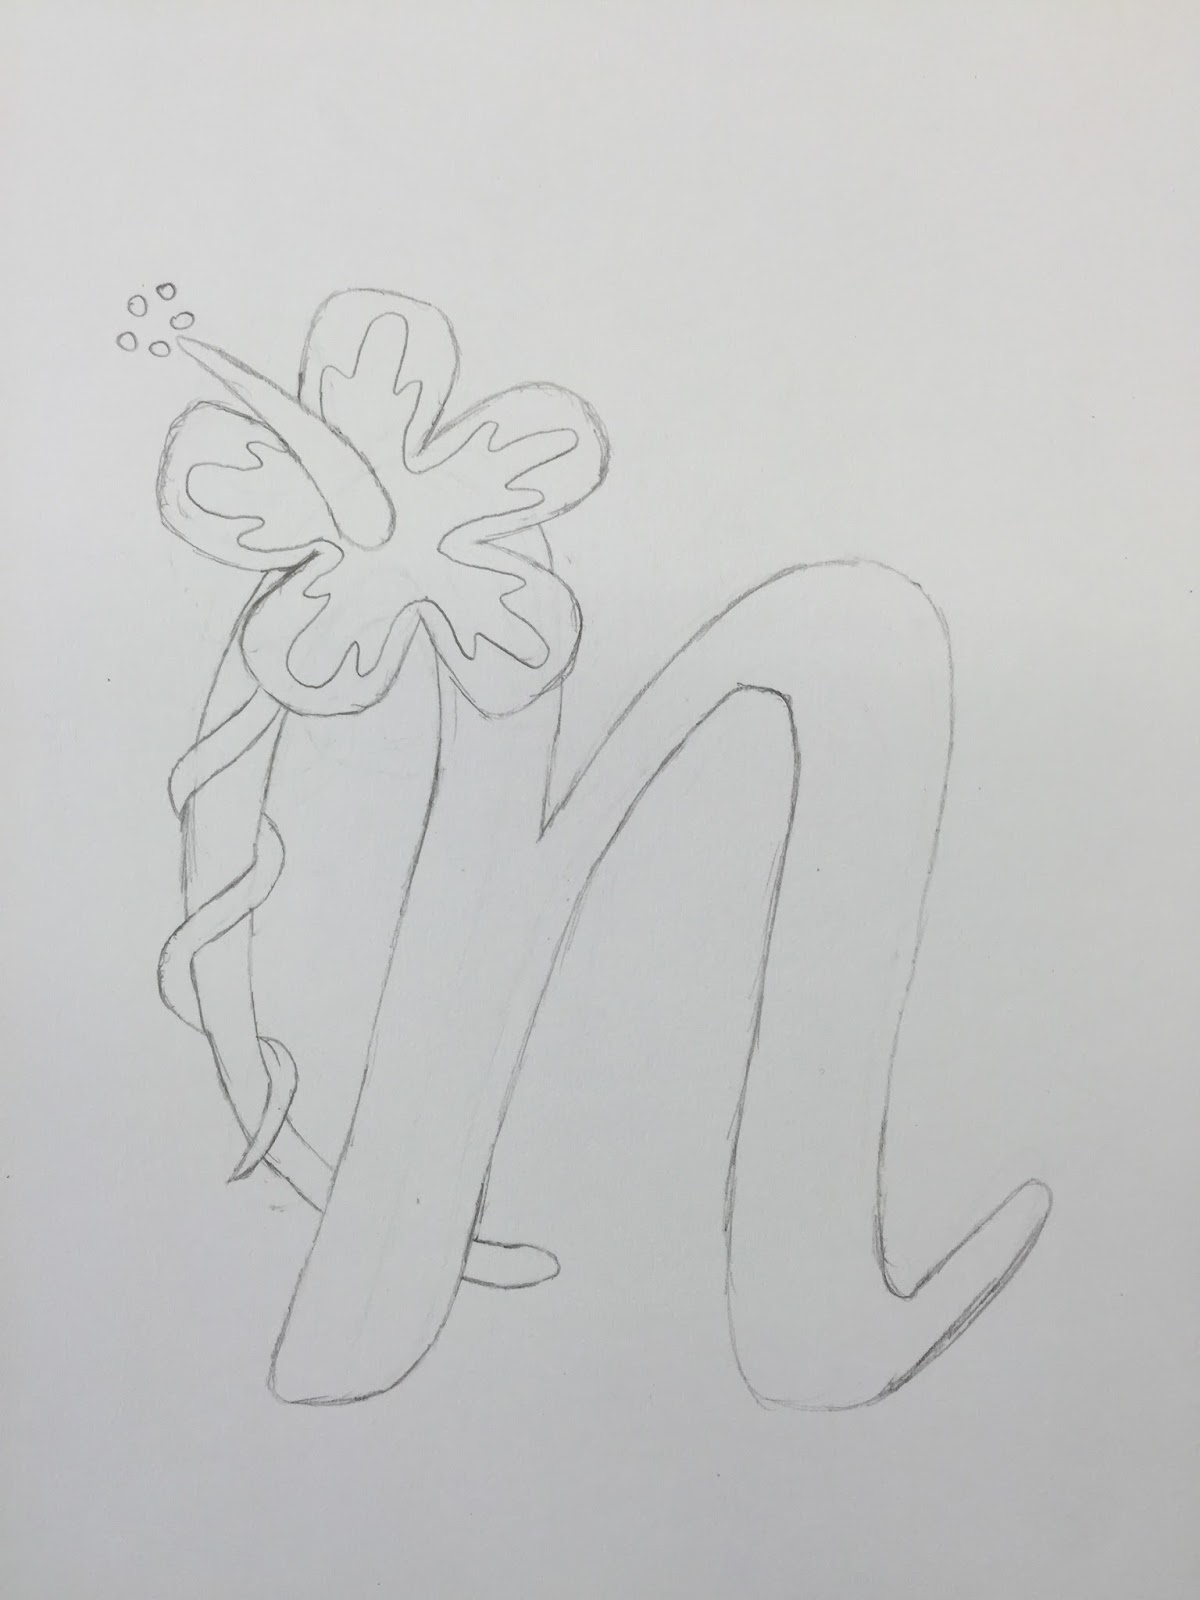
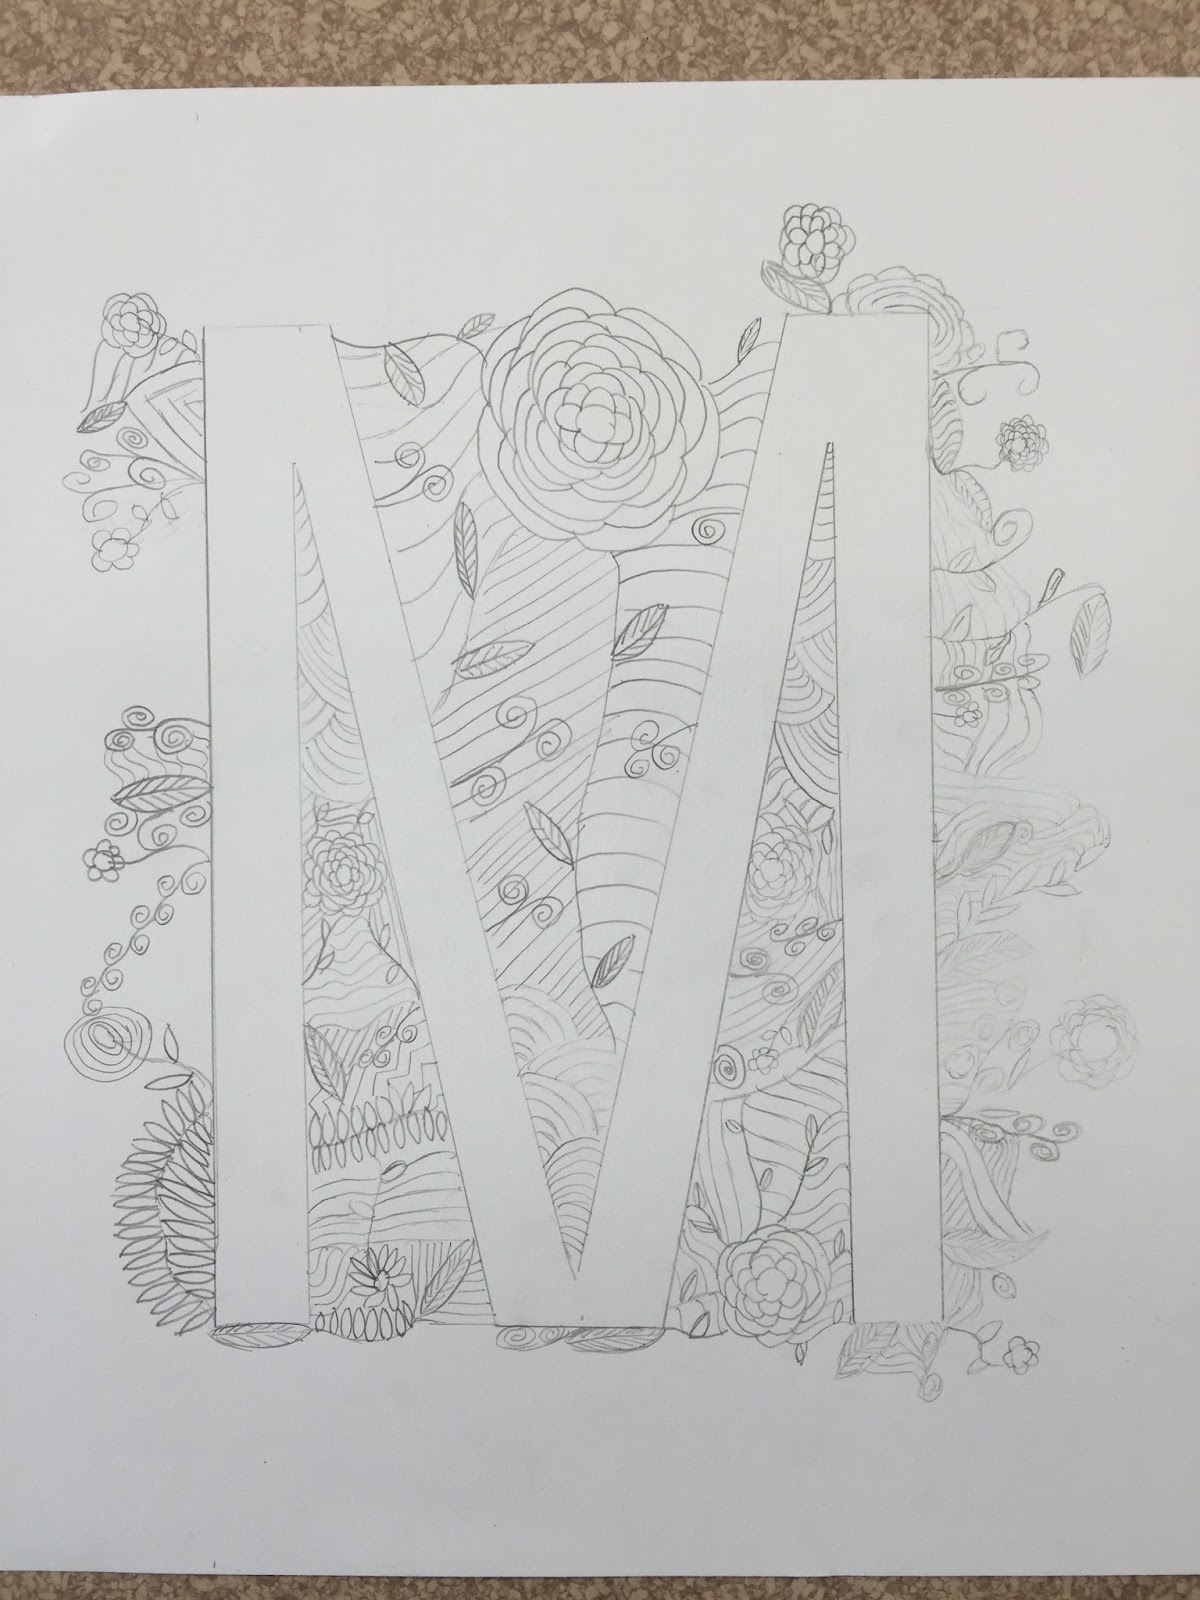
 Student Example...
Create a still life drawing of at least 4, 3D shapes.
Be creative. Shapes may overlap. Look for
reference pictures.

Choose a direction that the light source is coming
from and shade the shapes accordingly.
Please refer back to the videos from the first two days
of the lesson.
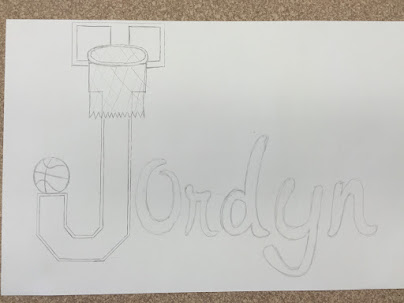
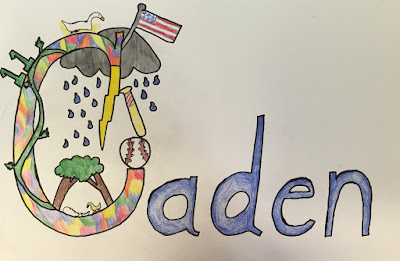
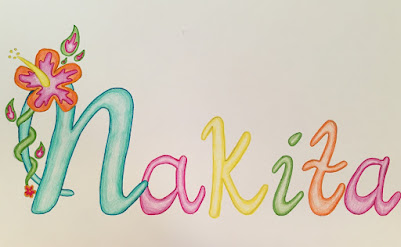
Examples...
 Student Examples...

Evaluation Questions:
25 Points - 5 points each
Did you draw at least 4, 3D shapes?
Did you choose a light source direction to
shade from?
Did you shade each shape, creating different
values with your pencil?
Did you create a shadow for each shape,
according to your light source?
Did you use good time management to complete
the project and turn it in on time?
Final Project
Animal Pencil Drawing
Objective: Use the skills previously learned with
drawing and shading to create a pencil drawing
of a shaded animal.
Materials: Paper, Pencil, Picture References, Eraser
1. Please research animal ideas and look at reference
pictures on your chromebook. Pick a picture of an
animal to draw.
This is a very helpful link to refer to...
2. Start with a very light pencil sketch drawing.
Take your time and look at all of the details.
3. Begin adding texture and shading to your drawing.
Please refer to and continue to develop the shading
techniques previously learned with the 3D shapes. Try
to achieve the different values from dark to light.
4. Shade your animal and create the texture of their
fur, hair, feathers etc. Take your time! Please look
carefully at your ference picture.
My example…
Student Examples:


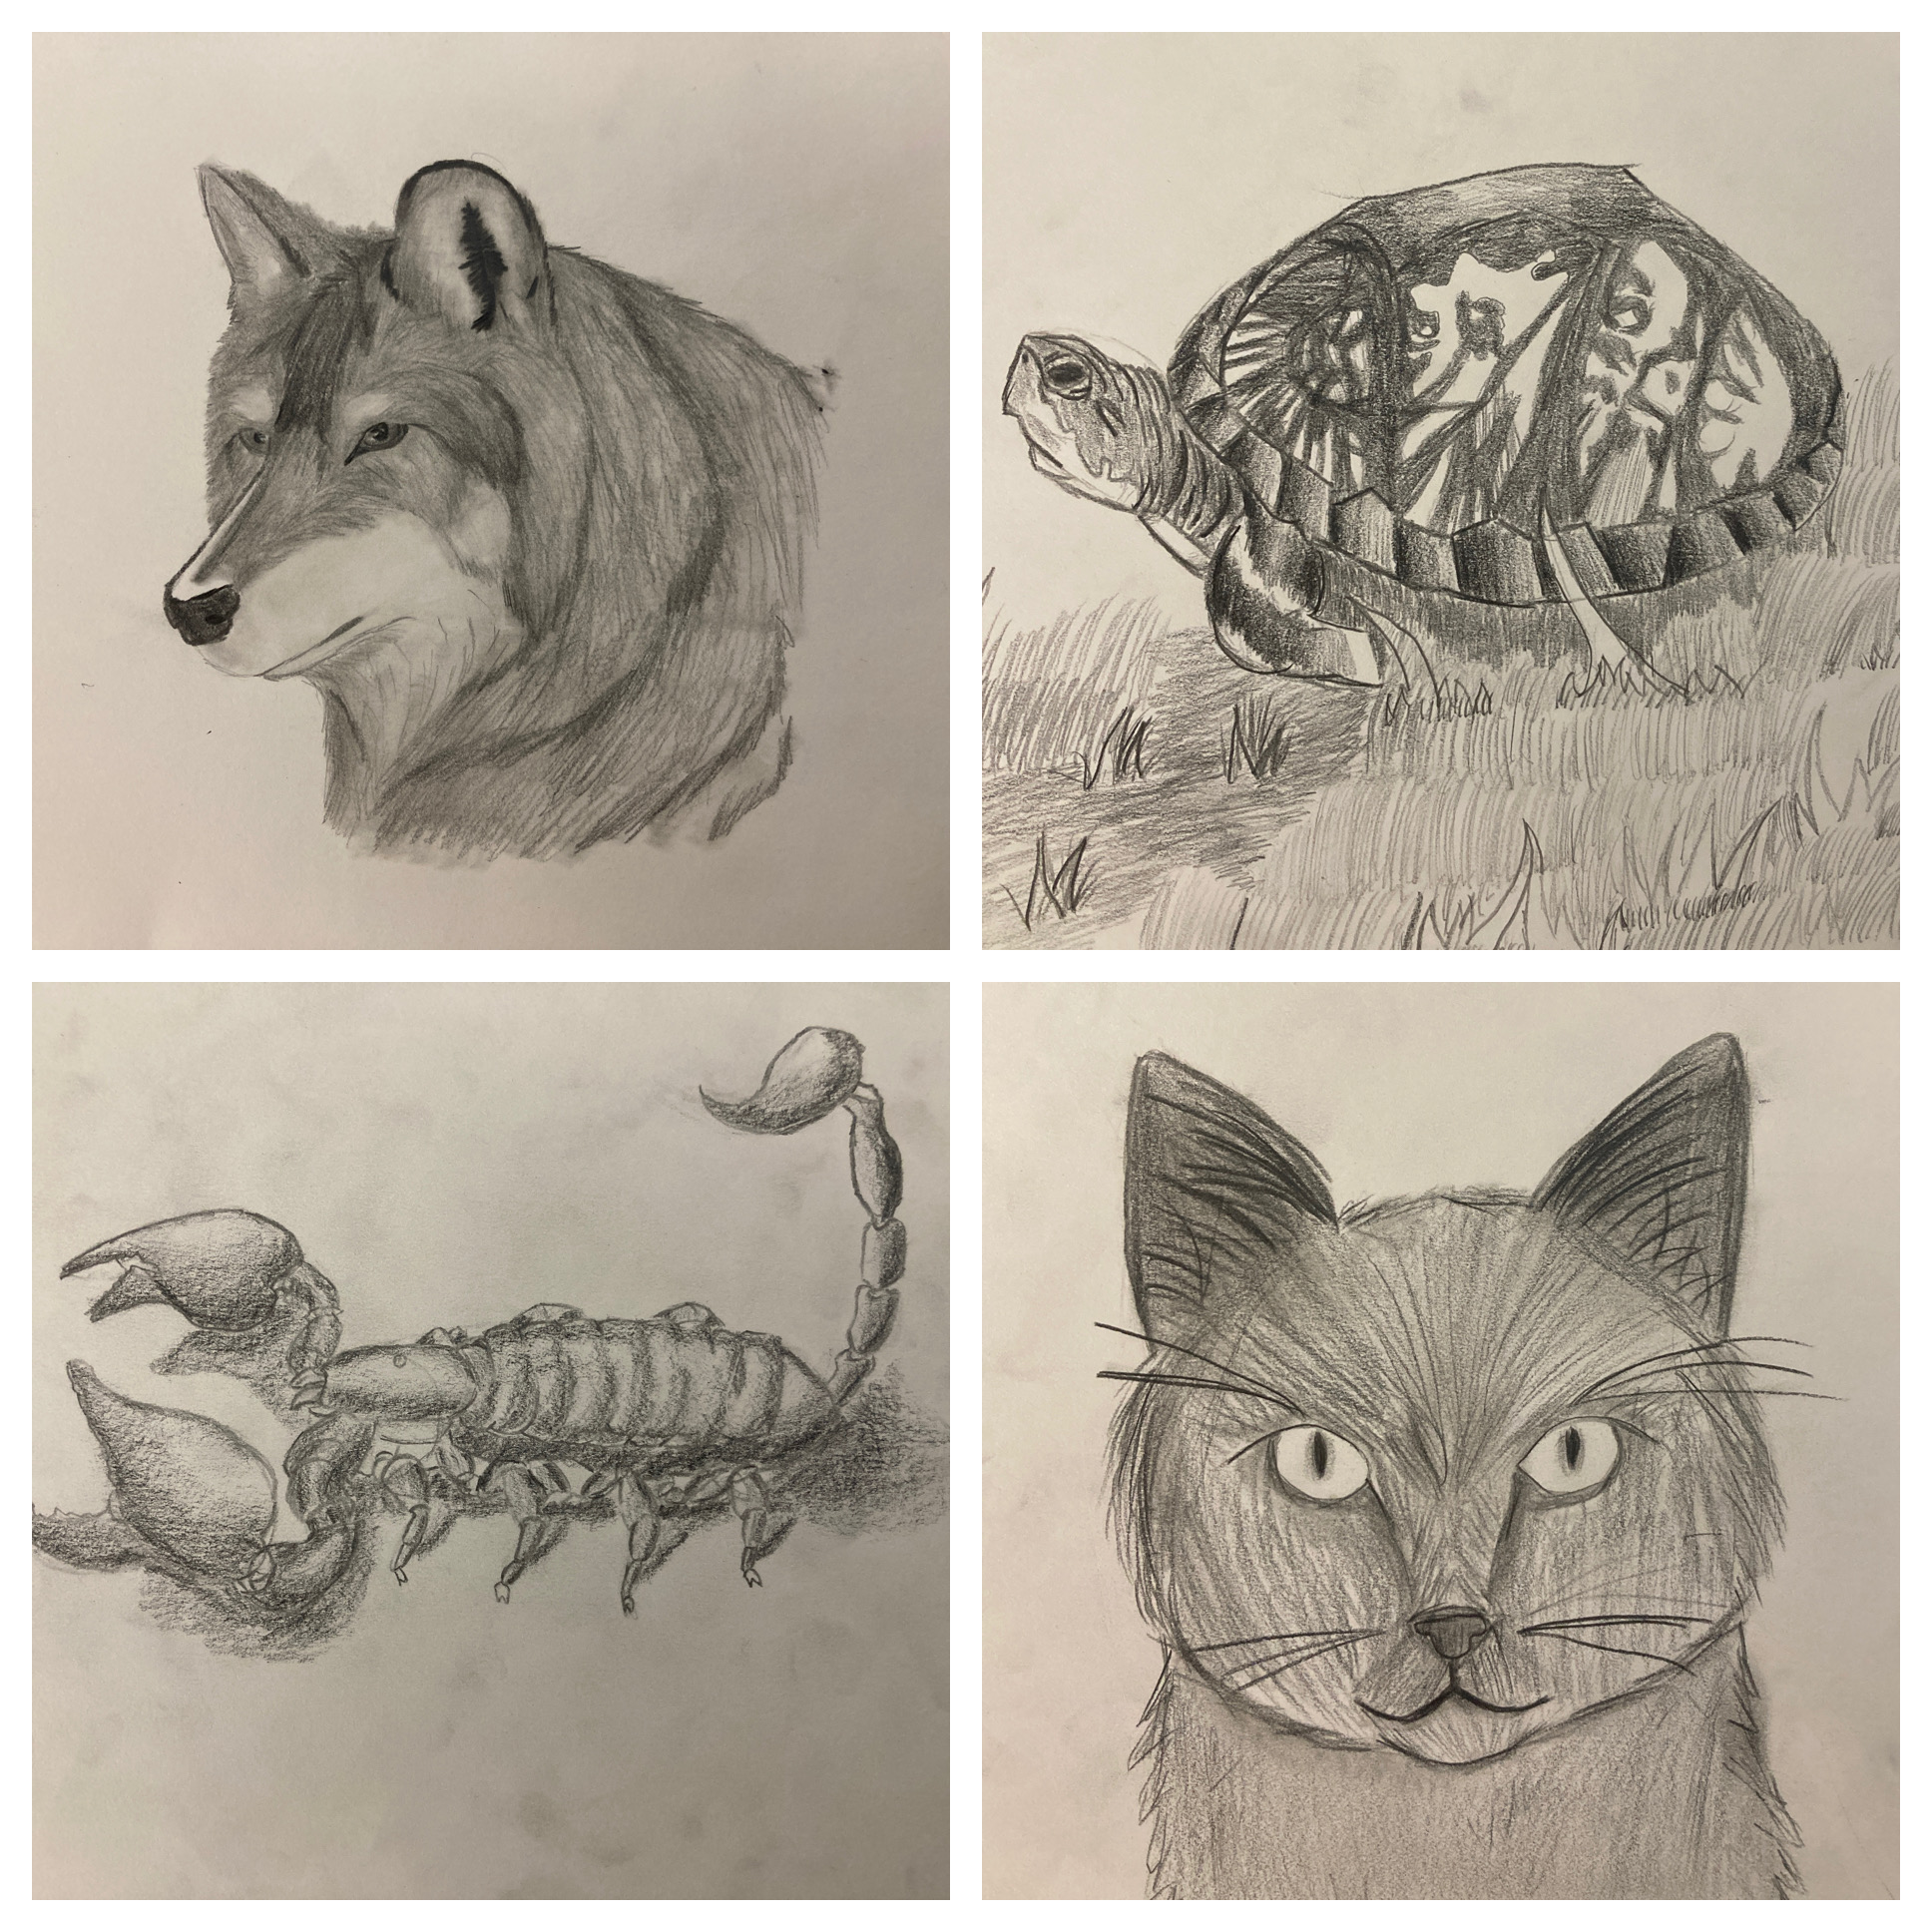


 Student Examples...


