Thursday, October 28, 2021

The Great Wave

 The Great Wave off Kanagawa


Art History: Please watch… The Great Wave


Objective - Students will learn about The Great Wave off Kanagawa

by Hokusai, and create their own version of The Great Wave!


Materials: Pencil, Paper, Sharpie, something to color with...

Markers, crayons, colored pencils, oil pastels or paint (your choice)


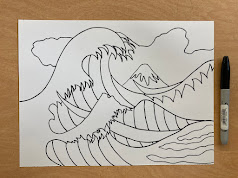
  1. After learning about The Great Wave off Kanagawa, plan and create a pencil drawing of your version of The Great Wave. Be creative! Fill your space. Use the original as inspiration.

You may create a parody of The Great Wave…

(example Bart Simpson surfing on the wave, etc.)

  1. Outline the pencil drawing with a sharpie or marker.


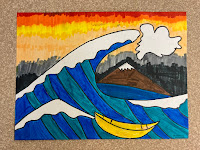
  1. Choose a color medium.You may choose from crayons, markers, colored pencils, oil pastels or paint.  Please remember what we have previously learned about the material choice and apply color to your drawing. Everyone’s project will be completely different. Be creative with the colors! Please demonstrate good craftsmanship with your medium choice. 


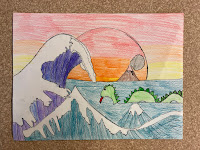
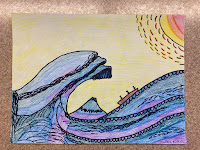
Example created with crayons:


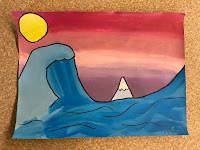
Student Examples:


Interesting facts about The Great Wave Print...15 Facts 


Assessment: 25 points


Did you plan and execute a pencil drawing of The Great Wave?  5 points

Did you apply color to your composition? 

5 points

Did you demonstrate good craftsmanship with your choice of materials? 

5 points

Did you successfully demonstrate good time management and clean up procedures daily? 

5 points

Did you fulfill all the requirements and complete and turn in your project?

5 points


Tuesday, April 20, 2021

Pencil Drawing

 Drawing and Shading 

How to draw and shade 3D shapes


Objective: Students will learn how to draw 5,

3 dimensional shapes and shading each one.

Students will create a drawing of a

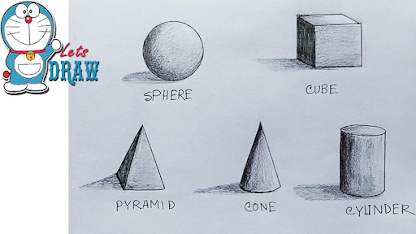
Sphere, Cube, Pyramid, Cone and Cylinder. 


Student Goal - Watch the video and view all

examples, practice drawing and shading each shape,

create a final shaded still life drawing of at least 4 shapes,

shade them according to a light source and create

shadows.


Please watch my demonstration on how to draw 3D shapes.

Mrs. Miller Demonstrates Drawing 3D Shapes


Please practice drawing the 5 3D shapes.


Please view this youtube video on how to shade....

https://youtu.be/DCyJ1LMTzxk


Please refer to the beginning of the video and practice

shading from dark to light with your pencil. More pressure

with the pencil, will create a darker shade. With less pressure,

the shade will be lighter.


After practicing shading, please practice shading your

shapes from day 1. 


Refer to the following pictures from Google Images...


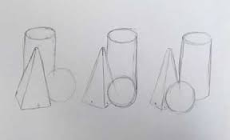
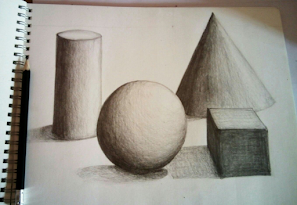
Student Example...

Create a still life drawing of at least 4, 3D shapes.

Be creative. Shapes may overlap. Look for

reference pictures.

Choose a direction that the light source is coming

from and shade the shapes accordingly.

Please refer back to the videos from the first two days

of the lesson.


Examples...


Student Examples...


Evaluation Questions:

25 Points - 5 points each

Did you draw at least 4, 3D shapes? 


Did you choose a light source direction to

shade from?


Did you shade each shape, creating different

values with your pencil? 


Did you create a shadow for each shape,

according to your light source?


Did you use good time management to complete

the project and turn it in on time?


Final Project

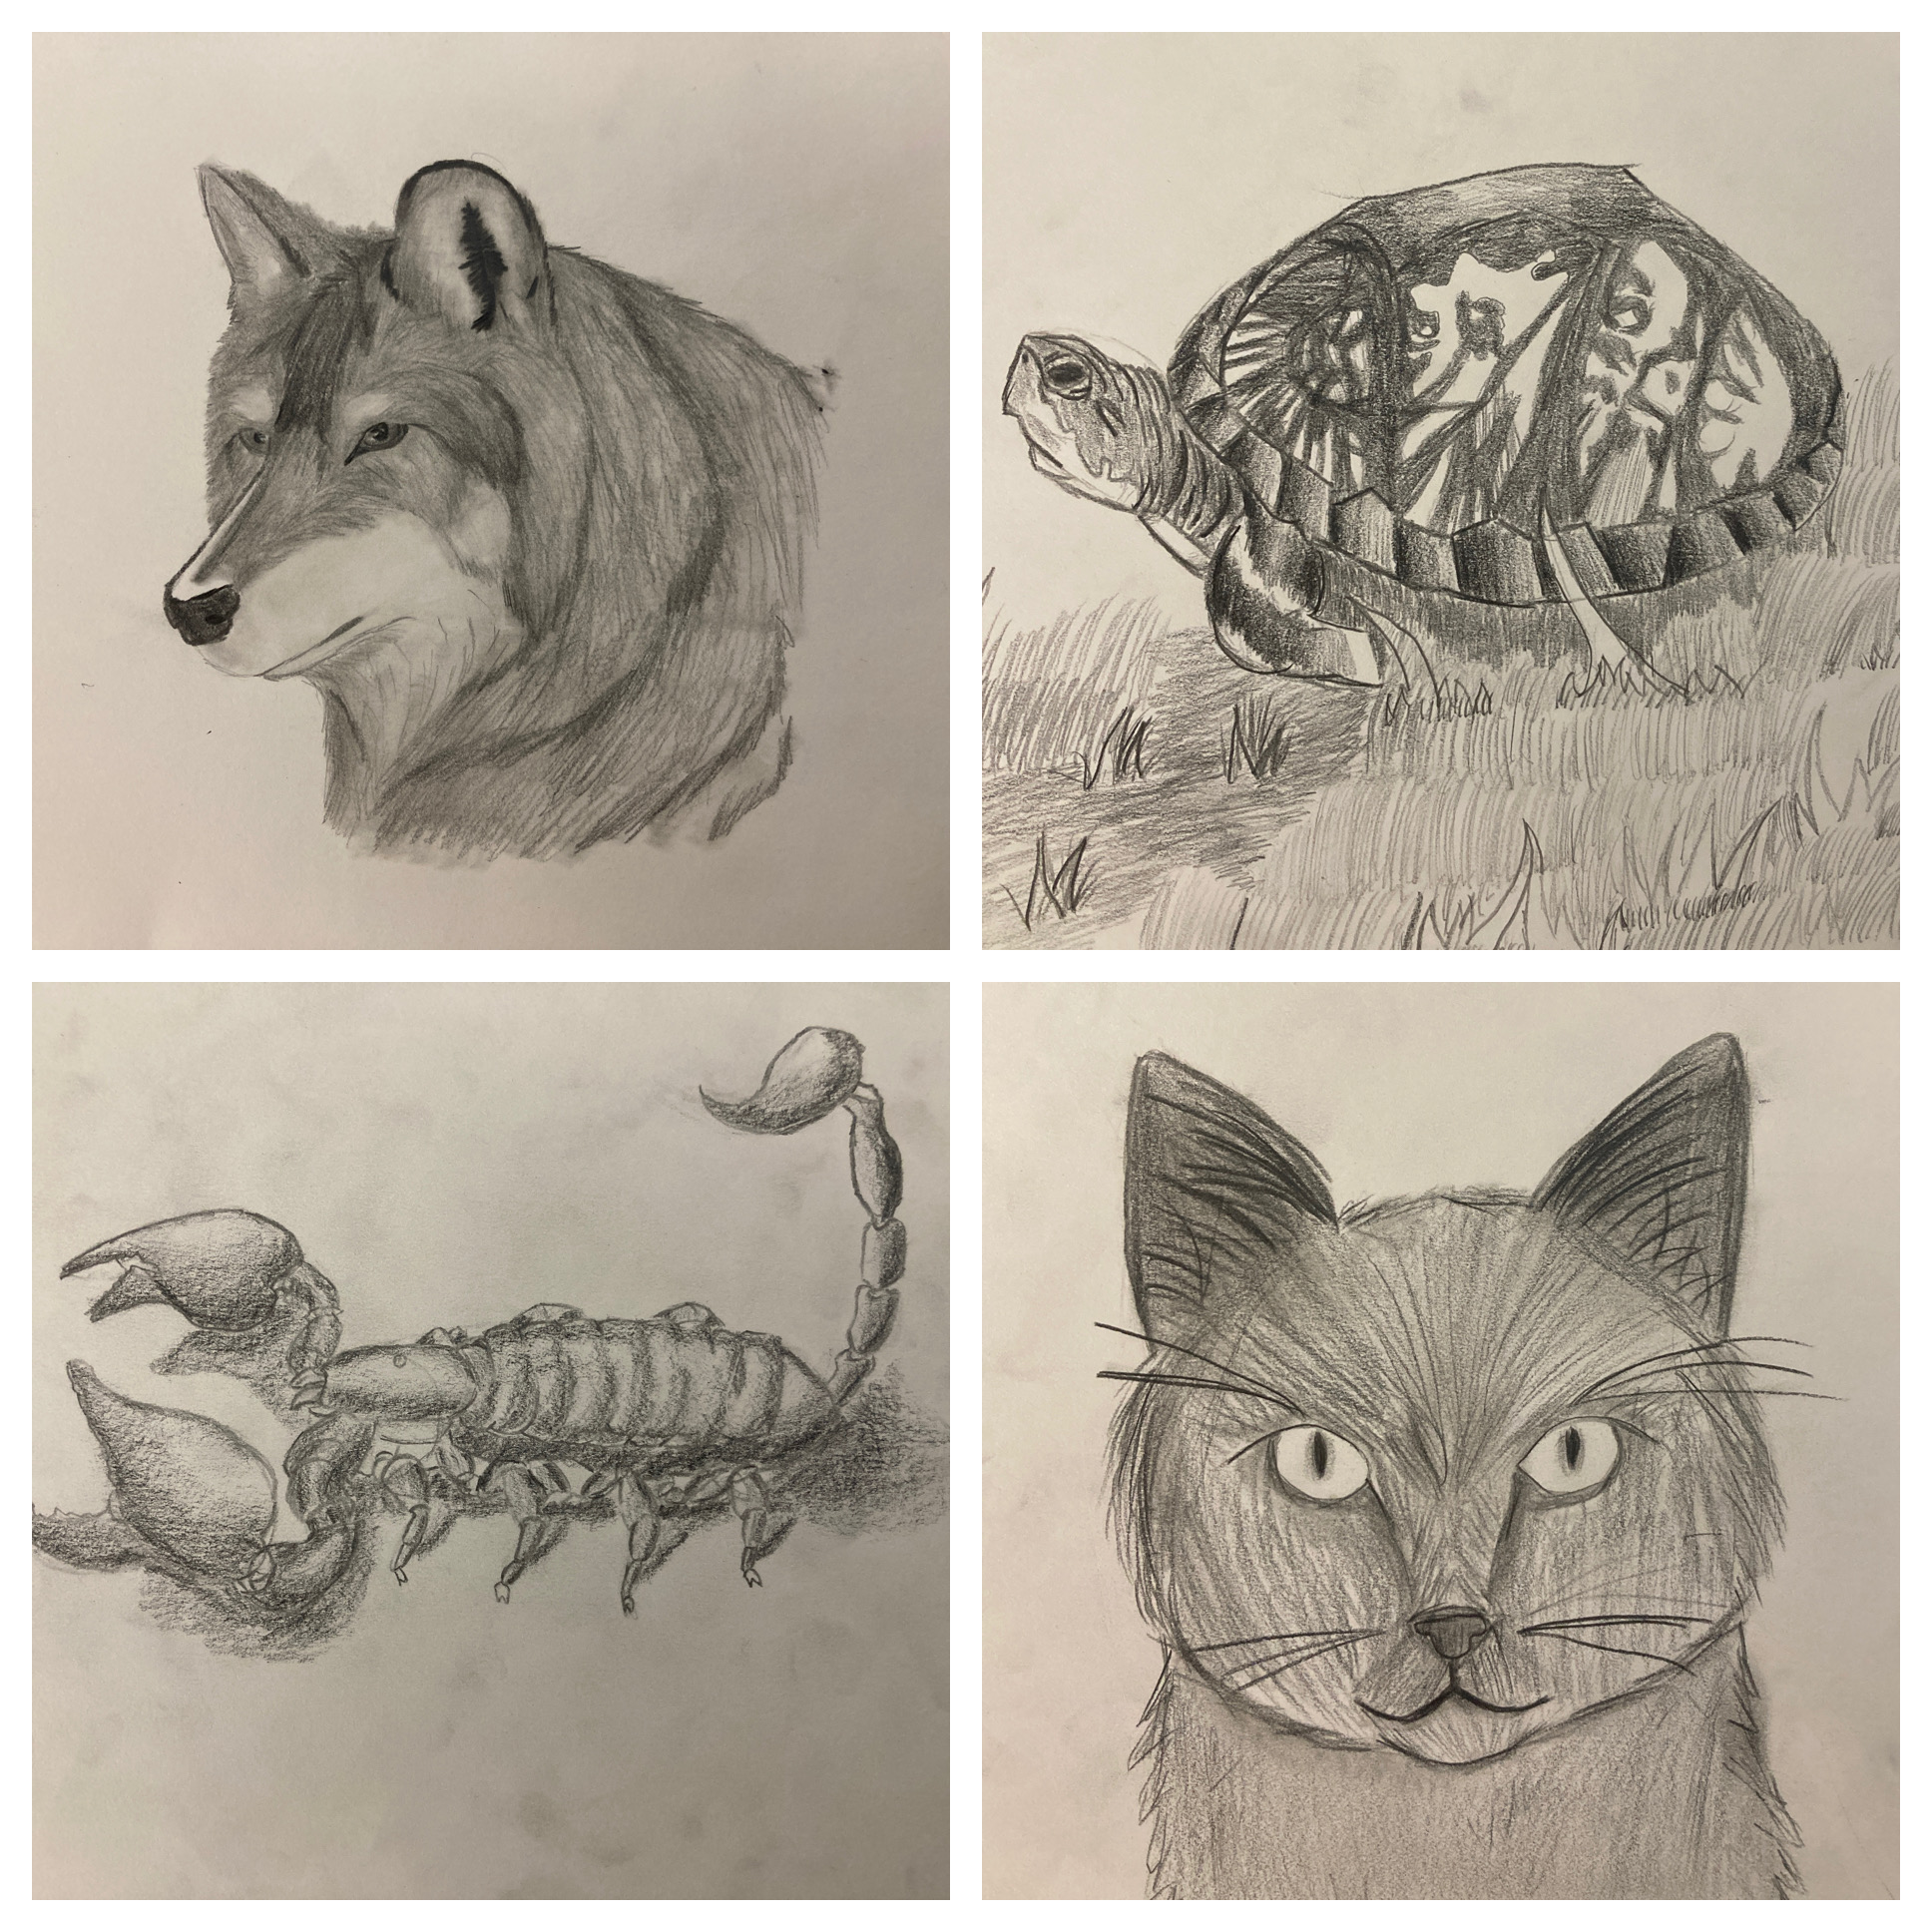
Animal Pencil Drawing


Objective: Use the skills previously learned with

drawing and shading to create a pencil drawing

of a shaded animal.  


Materials: Paper, Pencil, Picture References, Eraser


1. Please research animal ideas and look at reference

pictures on your chromebook. Pick a picture of an

animal to draw.

This is a very helpful link to refer to...

Animal Drawing Tutorials 


2. Start with a very light pencil sketch drawing.

Take your time and look at all of the details. 


3. Begin adding texture and shading to your drawing. 

Please refer to and continue to develop the shading

techniques previously learned with the 3D shapes. Try

to achieve the different values from dark to light.


4. Shade your animal and create the texture of their

fur, hair, feathers etc. Take your time! Please look

carefully at your ference picture. 


My example…

Student Examples:


Wednesday, October 28, 2020

Texture Landscape


What is a landscape? Please watch...What is a landscape?


Mrs. Miller’s Demonstration...

Landscape Drawing


Materials: Paper, Pencil, Markers


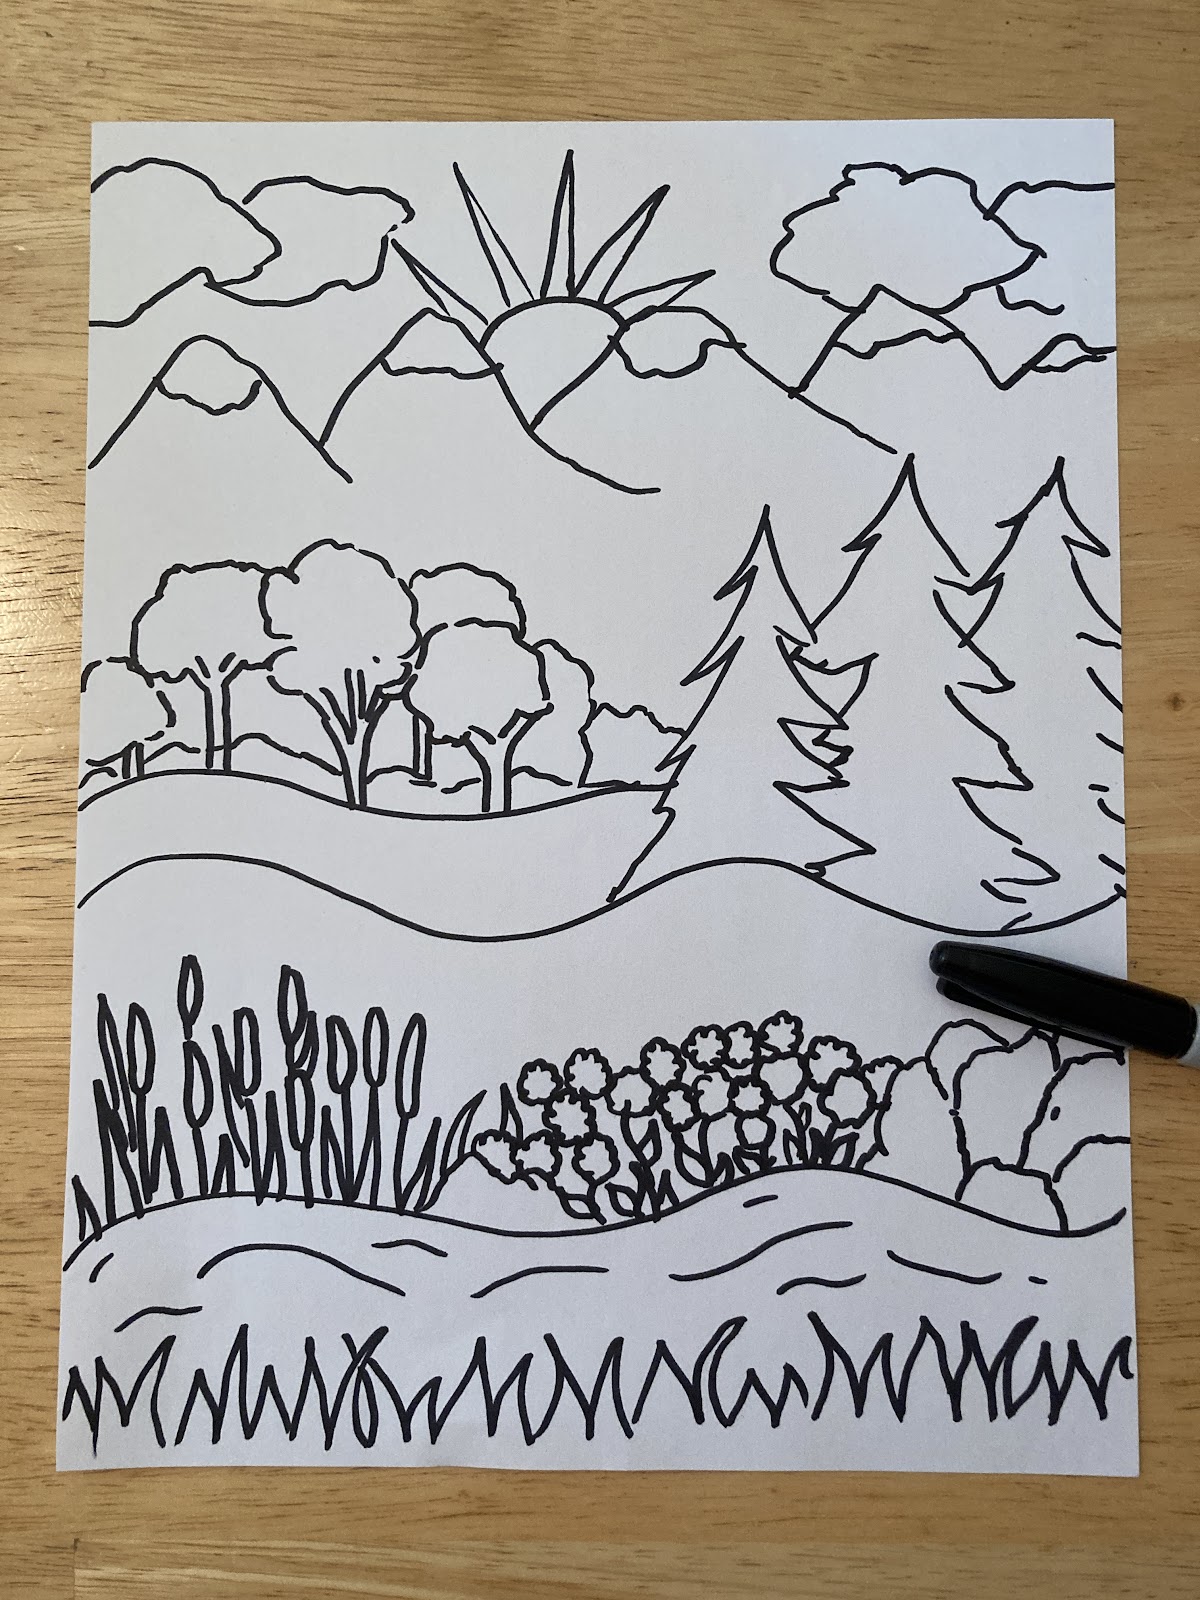
1. Draw a simple landscape that fills your paper with

many different layers. Rocks, grass, hills, water, mountains,

trees, sunset, clouds etc… Draw each area as a shape and

leave it open/white inside. Fill your space with many

sections of the landscape.

Please draw a foreground, middle ground and background.

Be creative. Please refer to my

example, but do not copy.


2. Outline the landscape with a dark marker or sharpie.


Discuss Texture

Please watch...Texture


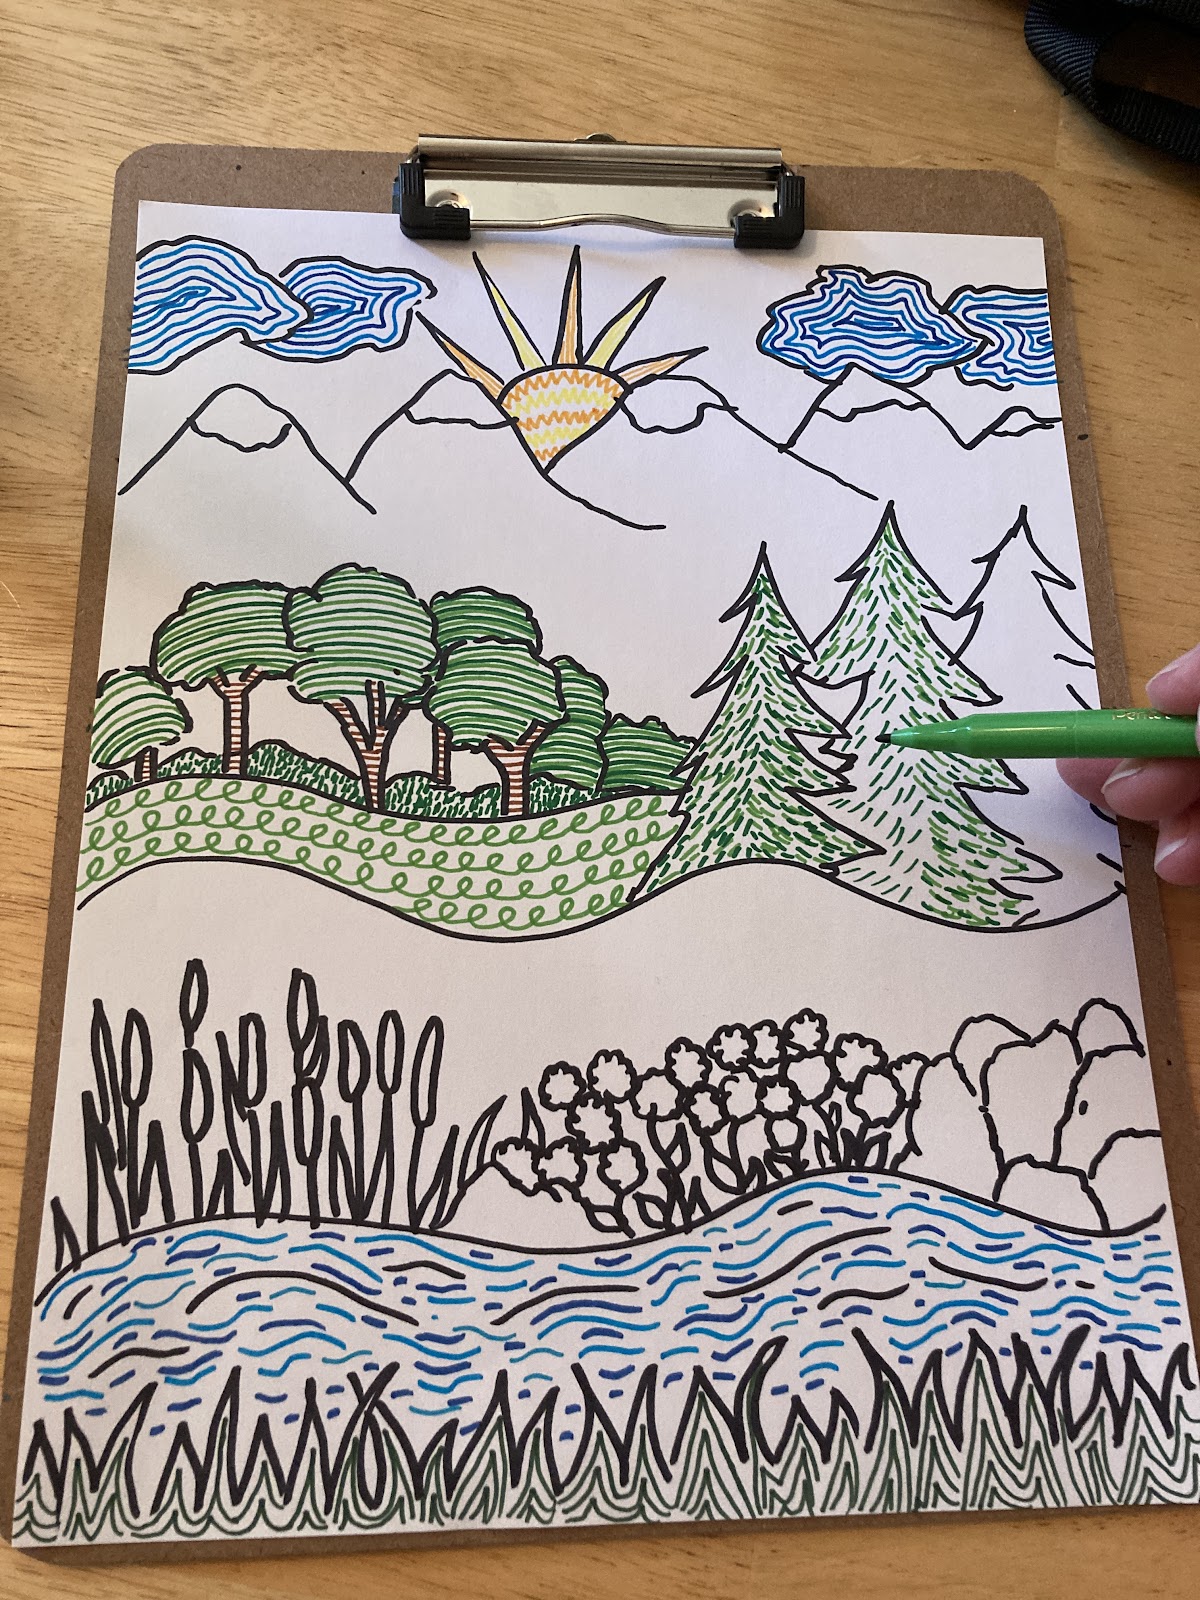
3. Fill each section/shape of the landscape with a pattern or

design to create the texture of each section. Use colored markers

to add color to the textures.

Please watch...Mrs. Miller demonstrates adding color and texture.

Fill the entire picture.


Student Examples...


Wednesday, October 21, 2020

Starburst Zentangle Design


Materials: paper, pencil, ruler or straight edge,

pen, colored pencils or markers


Directions:

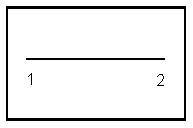
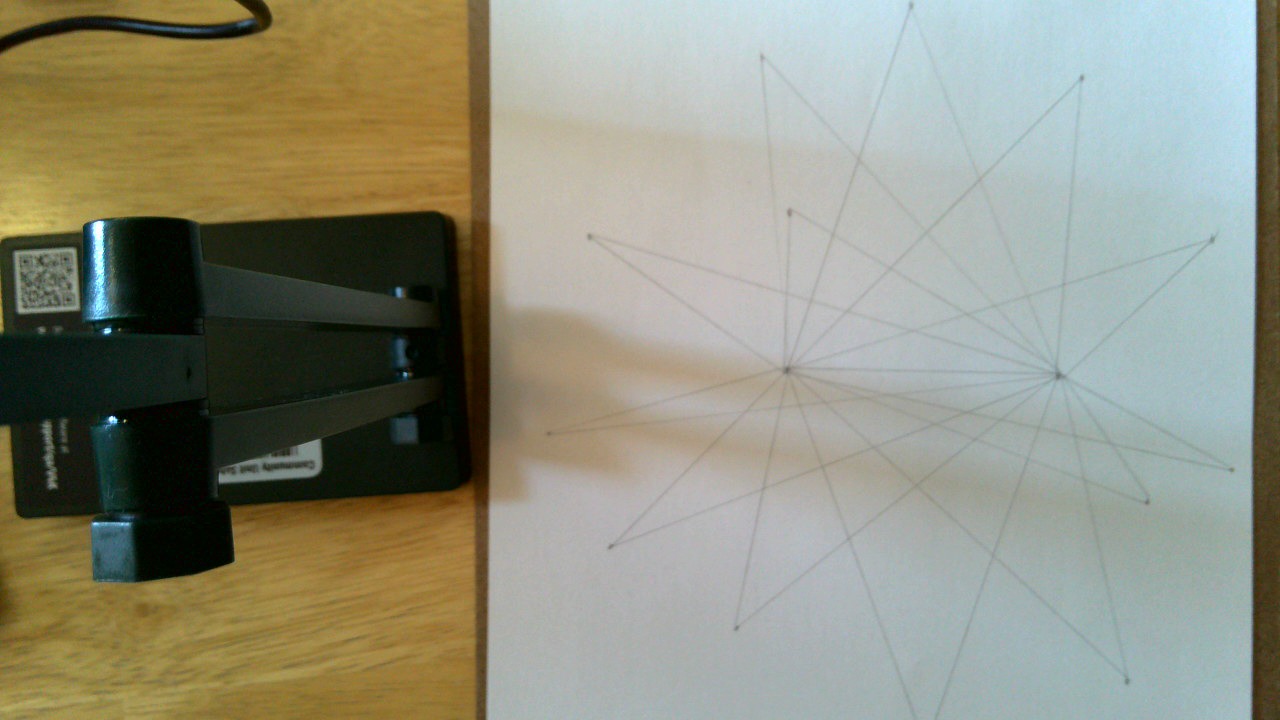
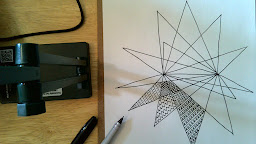
1. Place 2 dots 3-5 inches apart in the center

of the paper. Connect the 2 dots, with the ruler,

to create a horizontal line segment.

Square showing a horizontal line and numbers 1 and 2.

2. Draw 15 to 20 dots all over the paper

(dots may not be along the horizontal line

segment and area if the line segment were

extended to the edge of paper). The dots

should be scattered around on the paper

(some should be near the edges), spread

them out! These will be the points (angles)

on the design. The fewer the dots, the larger

the sections of the Starburst. 

3. Use a ruler for every line segment.

(Students have a tendency to want to draw

segments free-handed. A straight line is needed.)


Please watch

Mrs. Miller’s Demonstration How to Draw a Starburst 


4. Fill each section of the design with Zentangle. 

Mrs. Miller's Demonstration -

Adding Zentangle to the Starburst


For Zentangle ideas, please watch…

Easy- 20 Zentangle Patterns 

Also

48 EASY DOODLE PATTERNS 


Fill your Starburst with patterns and designs.

You may do this all in pen/sharpie or you

may choose to do this in color. It is up to

you on how you would like to complete your

design.


Examples…


By Alexandria Taylor
By Braley Burford


Friday, October 9, 2020

Illuminated Letters


Materials:

Drawing Paper, Pencil, Colored Pencils,

Dark Pen or Sharpie


Objective:

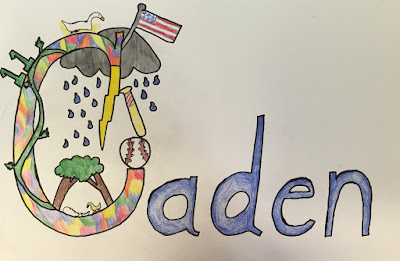
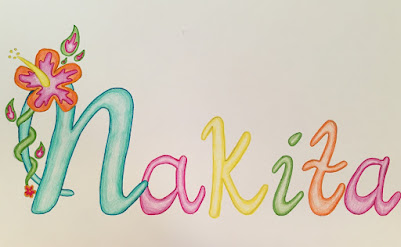
Create a letter design that reflects yourself

through images and symbols in an illuminated letter.


Please watch these short videos

on Illuminated Letters…

History of Illuminated Manuscript

Illuminated Letter Examples


Steps:

1. Students will brainstorm images and symbols

that represent who they are.

2. Next, make some rough sketches from the

image search.

3. Decide on using your first or last name

for Illumination lettering design.

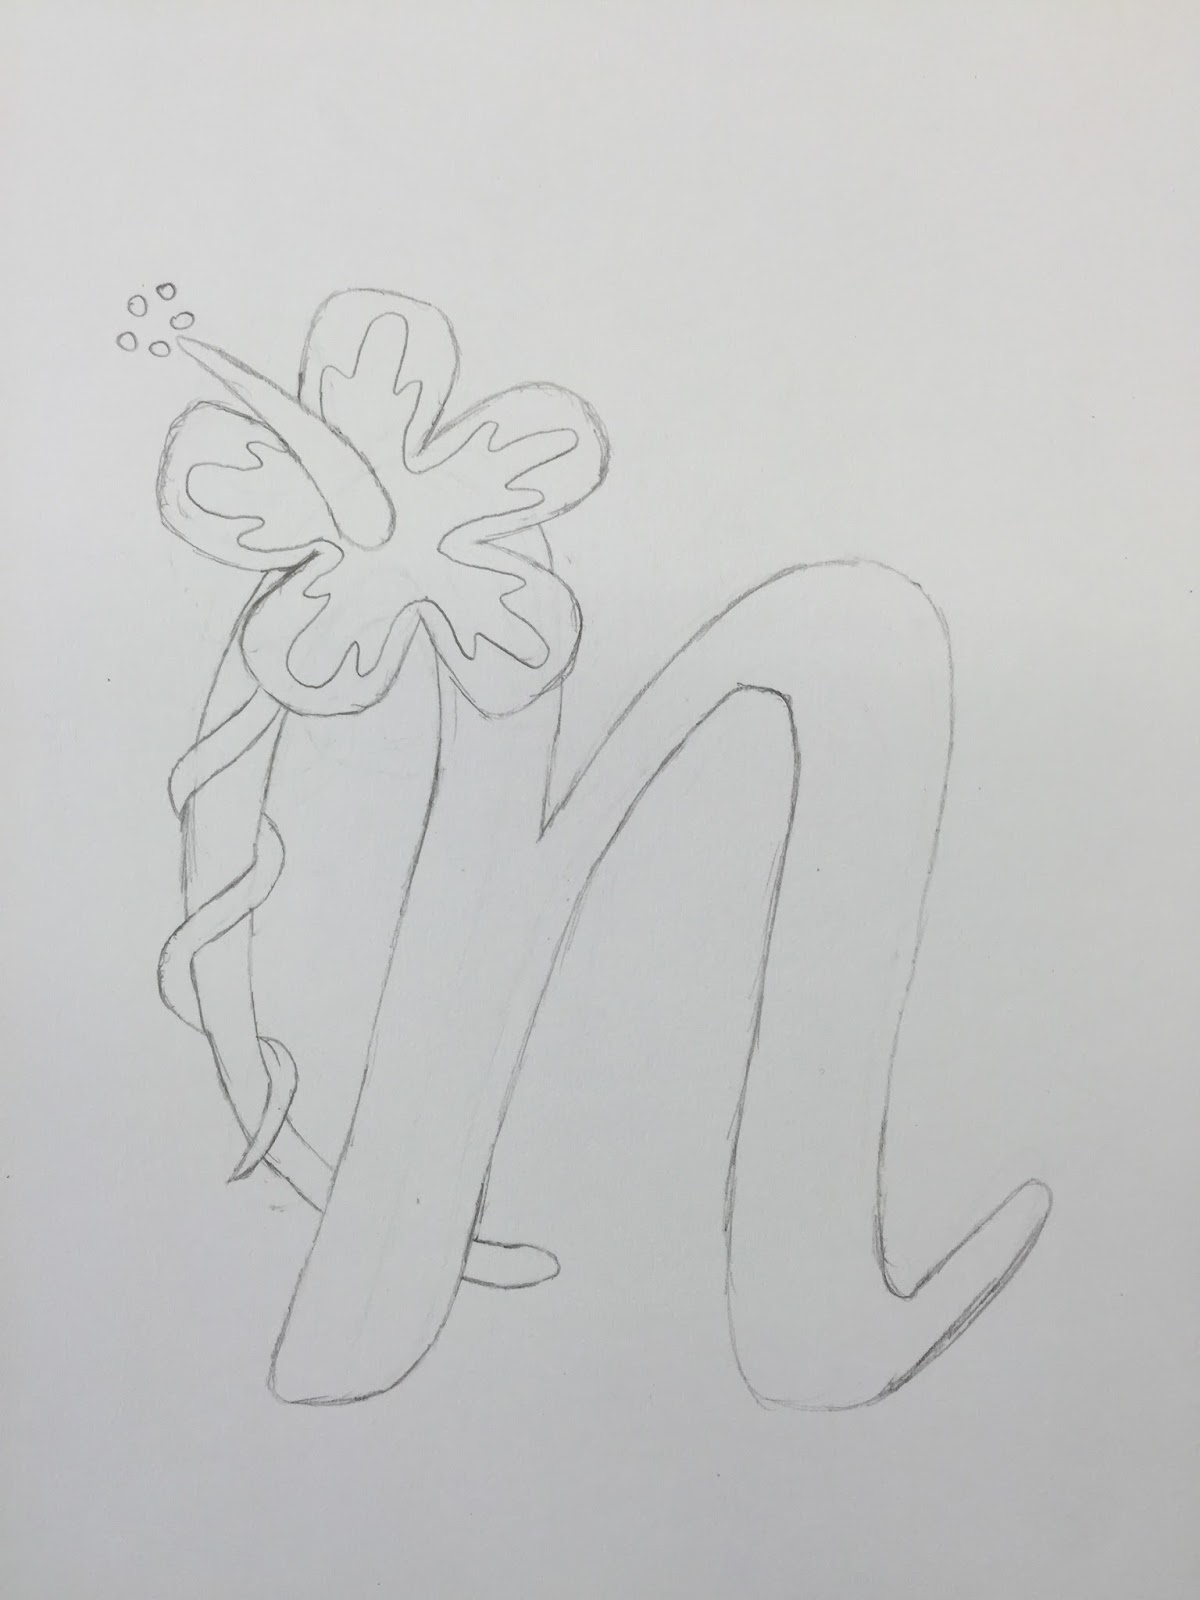
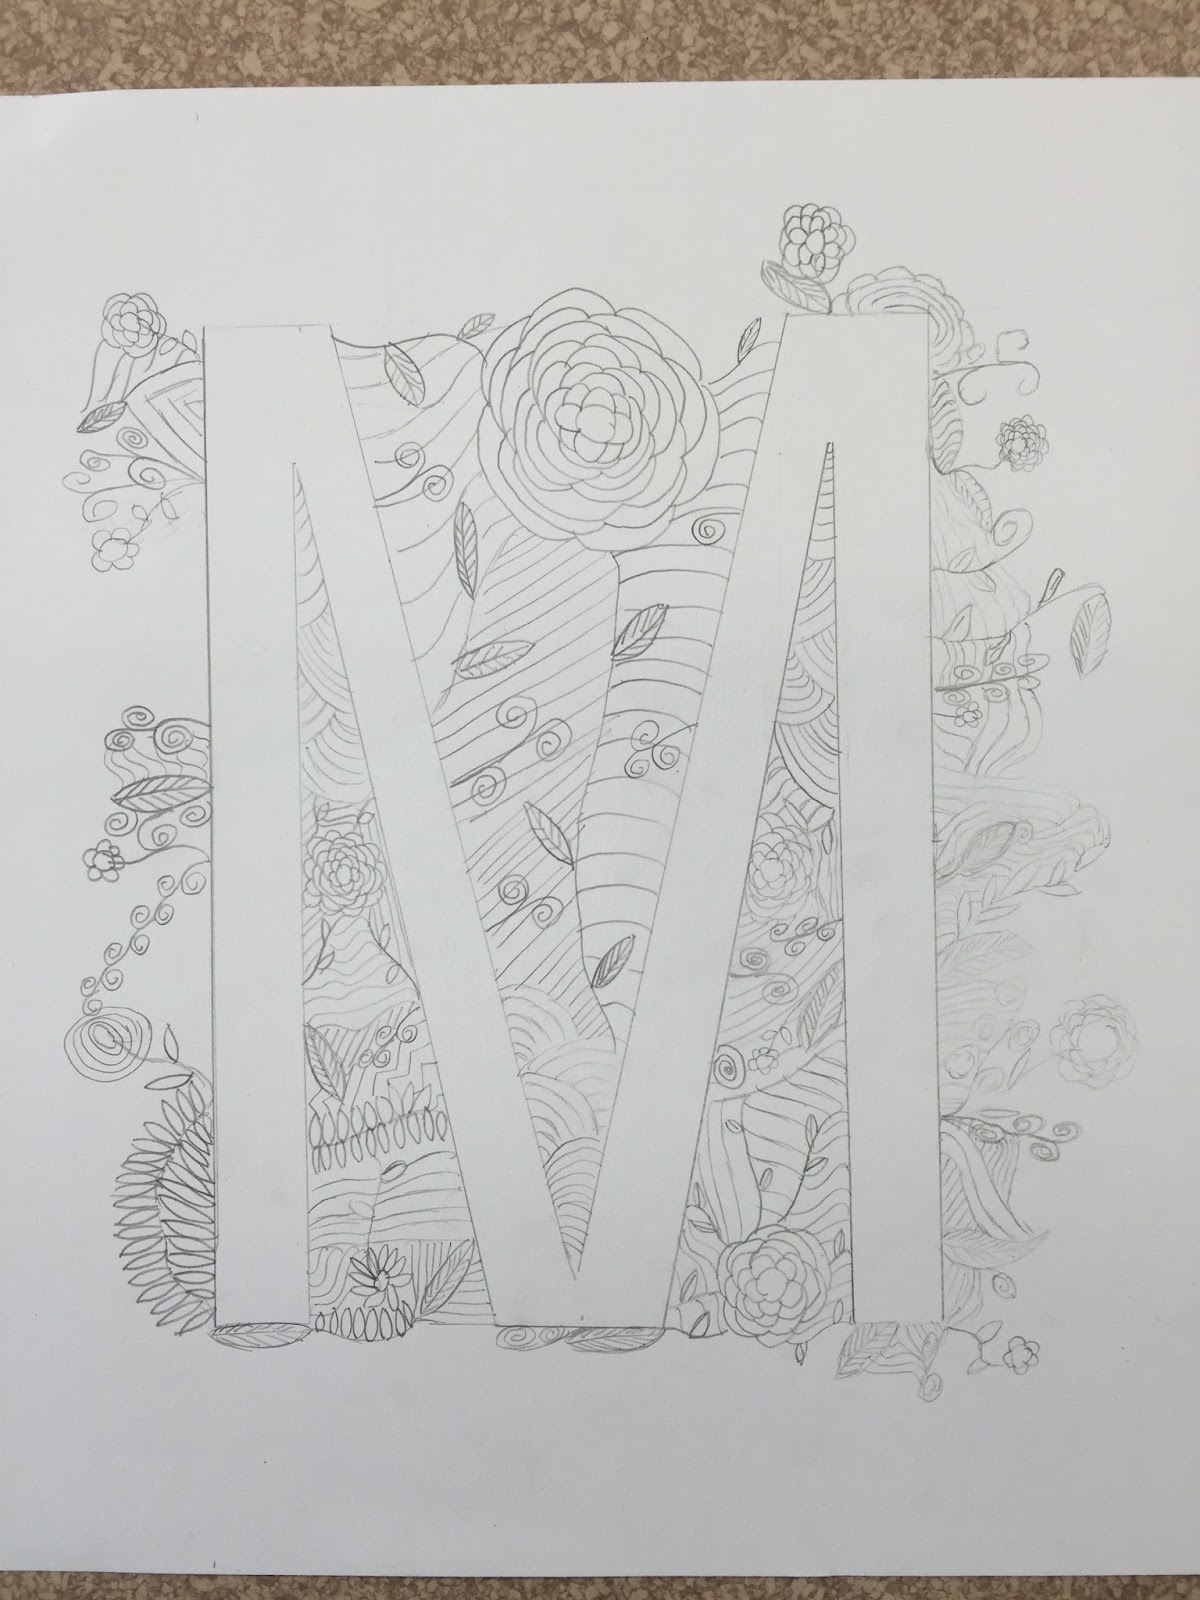
4. Design the first letter of your name,

incorporating the images and symbols. 

5. Transfer the initial to the final drawing paper.

6. Embellish negative space if desired and

add detail work to the drawing.

7. Add color to complete the design.


Student Examples....

IMG_1979.JPGIMG_1982.JPG


IMG_1983.JPGIMG_1980.JPG


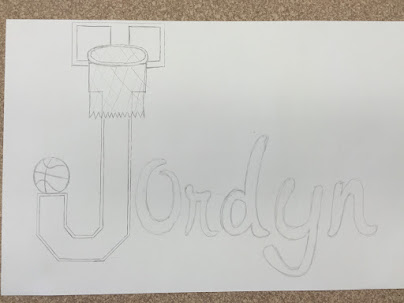
Next… Pencil in the rest of the name.

Use a ruler/straight edge for guidelines. 

IMG_1984.JPG

Shade the designs with colored pencils.

Outline with pen/sharpie to complete the design.                   

Student Examples...

IMG_2184.JPG

IMG_2190.JPG

IMG_2189.JPG

IMG_2192.JPG