Wednesday, December 3, 2025

 Northern Lights Mixed Media

Materials: Black Paper, Prismacolor Stix, White Paint, Paint Brush

Step 1 - Look at pictures of the Northern Lights.

Plan out what you want to paint on the bottom of the paper. Examples: trees, mountains, polar bears, a barn, lighthouse etc. Draw the bottom scene silhouette outline in pencil. Be Creative!

Step 2 - Use Prismacolor Stix to create Northern Lights colors in the sky on the black paper. Blend and layer the colors. 

Step 3 - With the white paint, paint the scene silhouette on the bottom of the paper. You may also paint a moon, stars or snowflakes with the white paint. 
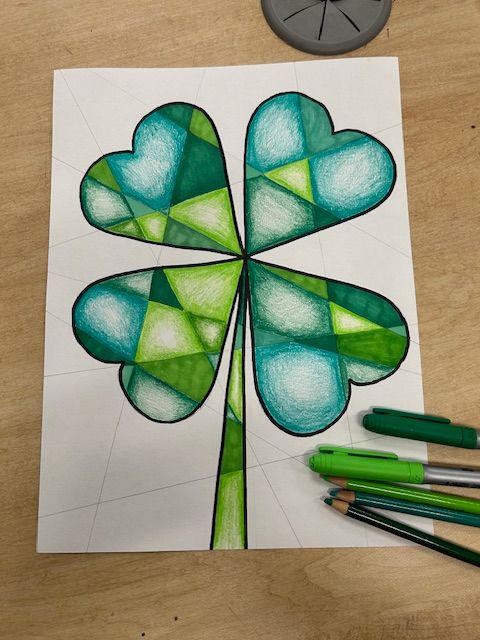
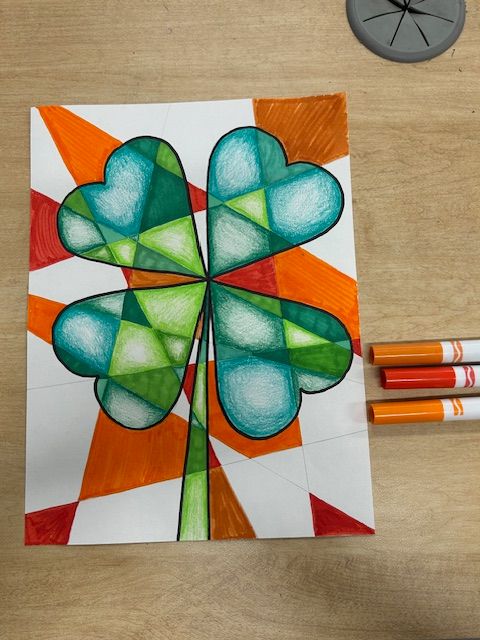
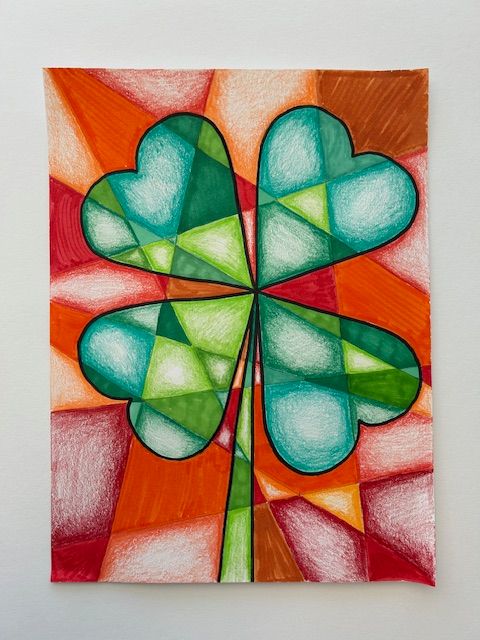
Student Examples...


Thursday, October 9, 2025

Fall Pumpkin Design      


     Materials: paper, pencil, ruler, sharpie, paint, brushes, water, markers, colored pencils


  1. Draw a large pumpkin! You may choose to put the pumpkin in the middle of the paper, or on one of the sides! Please refer to the step by step pictures below.

  1. With a ruler, divide the negative space (rest of the paper) into sections. into multiple sections.

  1. In each of the sections, draw various fall symbols or designs in pencil. 

  1. Outline everything in sharpie. 

  1. Choose between markers, colored pencils or paint for your design. Students can use more than one for a mixed media design. Remember, do not paint wet areas next to other wet areas! The colors will run together!

Fill the design with color! Student examples below...


Wednesday, April 16, 2025

Watercolor Zentangle

 Flower Mixed Media


Objective - To create a mixed media design with watercolor paint and pen zentangle.


Materials - White paper, pencil, watercolor paints, water, paint brushes, sharpies

Steps:

  1. Idea search flower pictures. Choose one to draw. 

  2. Draw the flower in pencil on the white paper. The flower should be large and detailed.

  3. Outline the flower in bold sharpie.

  1. Paint the flower with watercolor paint.

  2. Fill the negative space (background) with zentangle designs. The zentangle should be traced with a sharpie. 

5. space (background) with zentangle designs. The zentangle should be traced with a sharpie. 


Student Work...


Tuesday, March 4, 2025

Cubist Clover


What is Cubism?

Cubism is an art style that uses geometric shapes to depict

three-dimensional subjects on a flat canvas. 


Examples of Cubism…

Self Portrait of Pablo Picasso, 1912


PABLO PICASSO 'Factory, Horta de Ebbo', 1909 


Cubist Clover Design


Materials: White paper, pencil, ruler, colored pencils,

markers, heart stencil


1. Draw four hearts connected in the center to create a clover.

2. Add a stem.

3.With a ruler, draw random straight lines through different parts

of the clover to create a “cubist” effect.

4. Use different colored green markers and colored pencils to

color in all of the sections of the clover, you may also use

analogous colors to green. 

5. Use a contrasting color scheme for all of the negative space

(the background). Color each section individually.

Plan out your colors.