
Materials:
8 1/2 x 11 inch newsprint
Pencils
Ballpoint Pens
Tape
Wood craft sticks
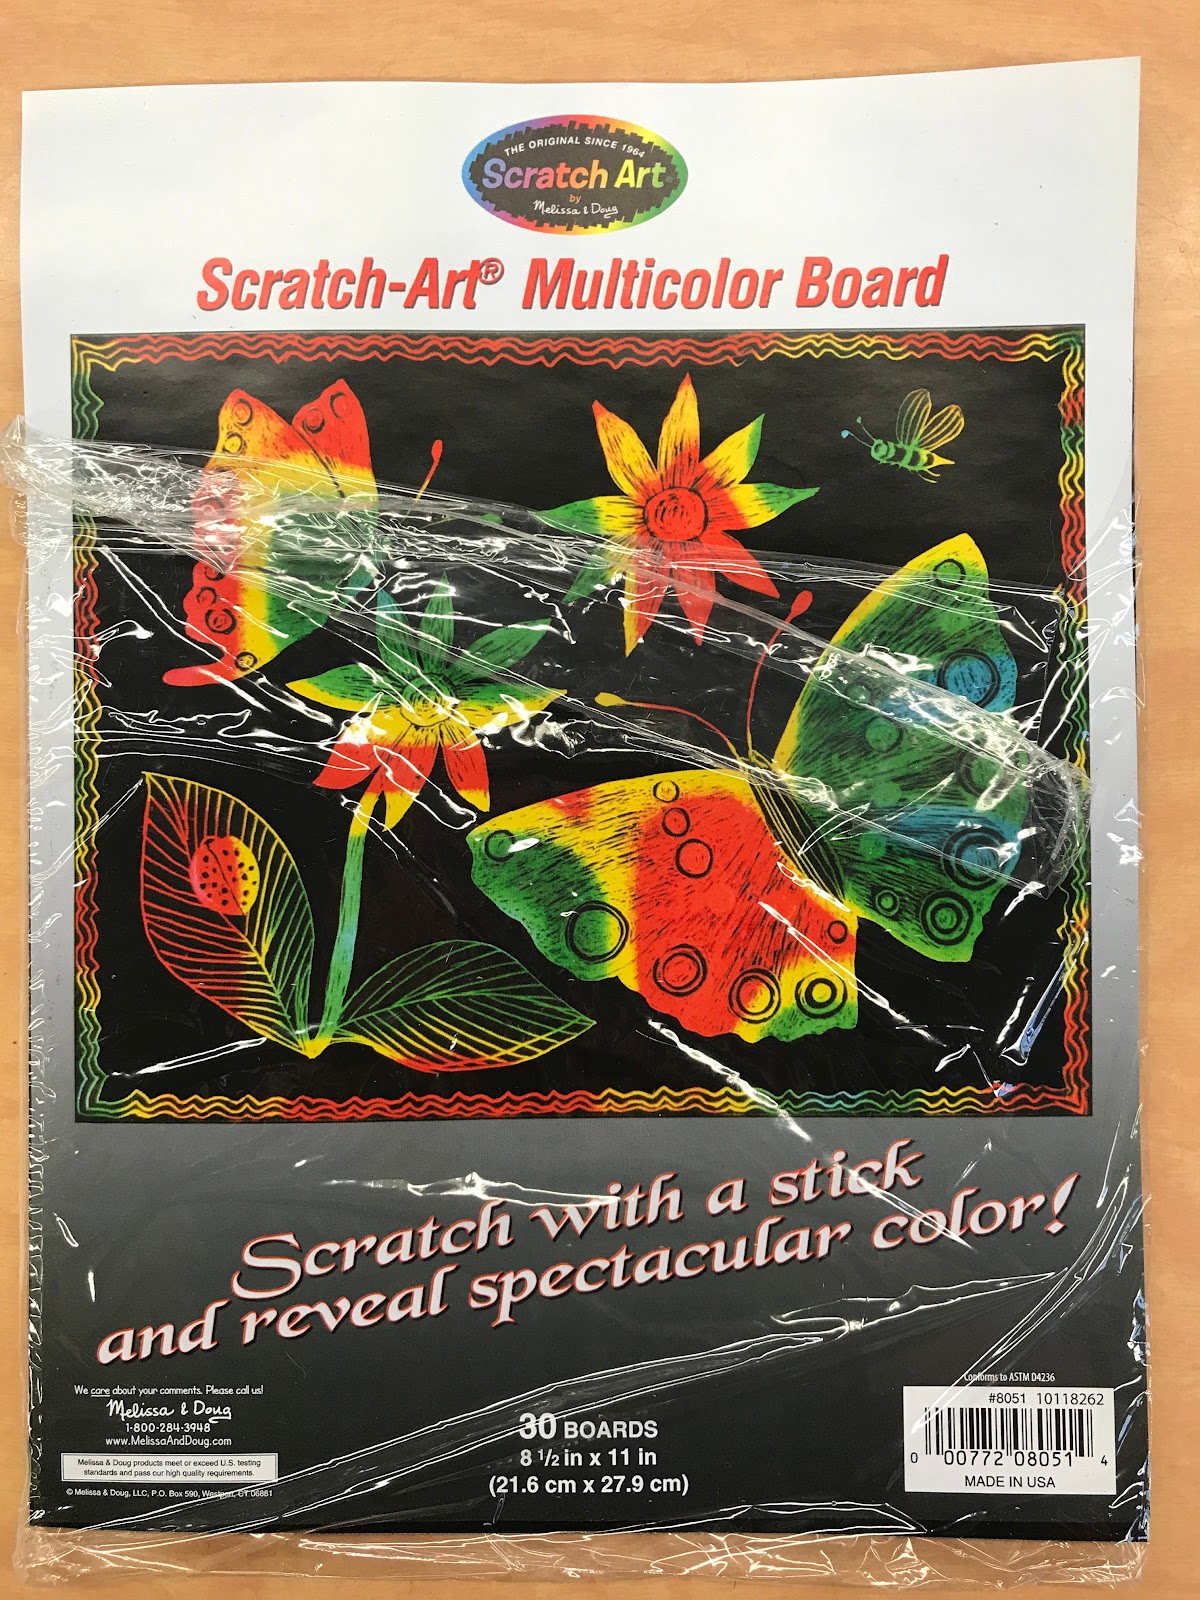
Multicolor Scratch-Art
Day 1 – Students will look at a google slides presentation of examples
of scratchboard projects and we will discuss the process. Discuss
positive and negative space and shading.
Students will create a drawing on newsprint that will be transferred
onto the scratchboard. Students may do 2 or 3 sketches, so they can
pick the best one on day 2. I will encourage students to think about nature
and textures in nature. Students will fill their 8 ½ x 11 inch paper
with a competition, realistic or abstract.
Day 2 – Students will pick their best drawing and redraw their design,
if needed. Tape the drawing on top of the scratchboard (drawing side up)
and trace over it with a ballpoint pen. This will transfer an outline of the
design onto the scratchboard. Remove the newsprint drawing and begin
scratching with the wooden tool. I will demonstrate the scratching process
for the students. Scratch with lines and dots. Create texture and shading
with the scratches. No bold outlining!
Day 3 – Continue scratching the design on the colored scratchboard.
Be creative! Create detail, texture and shading with lines and dots.
Fill your space!
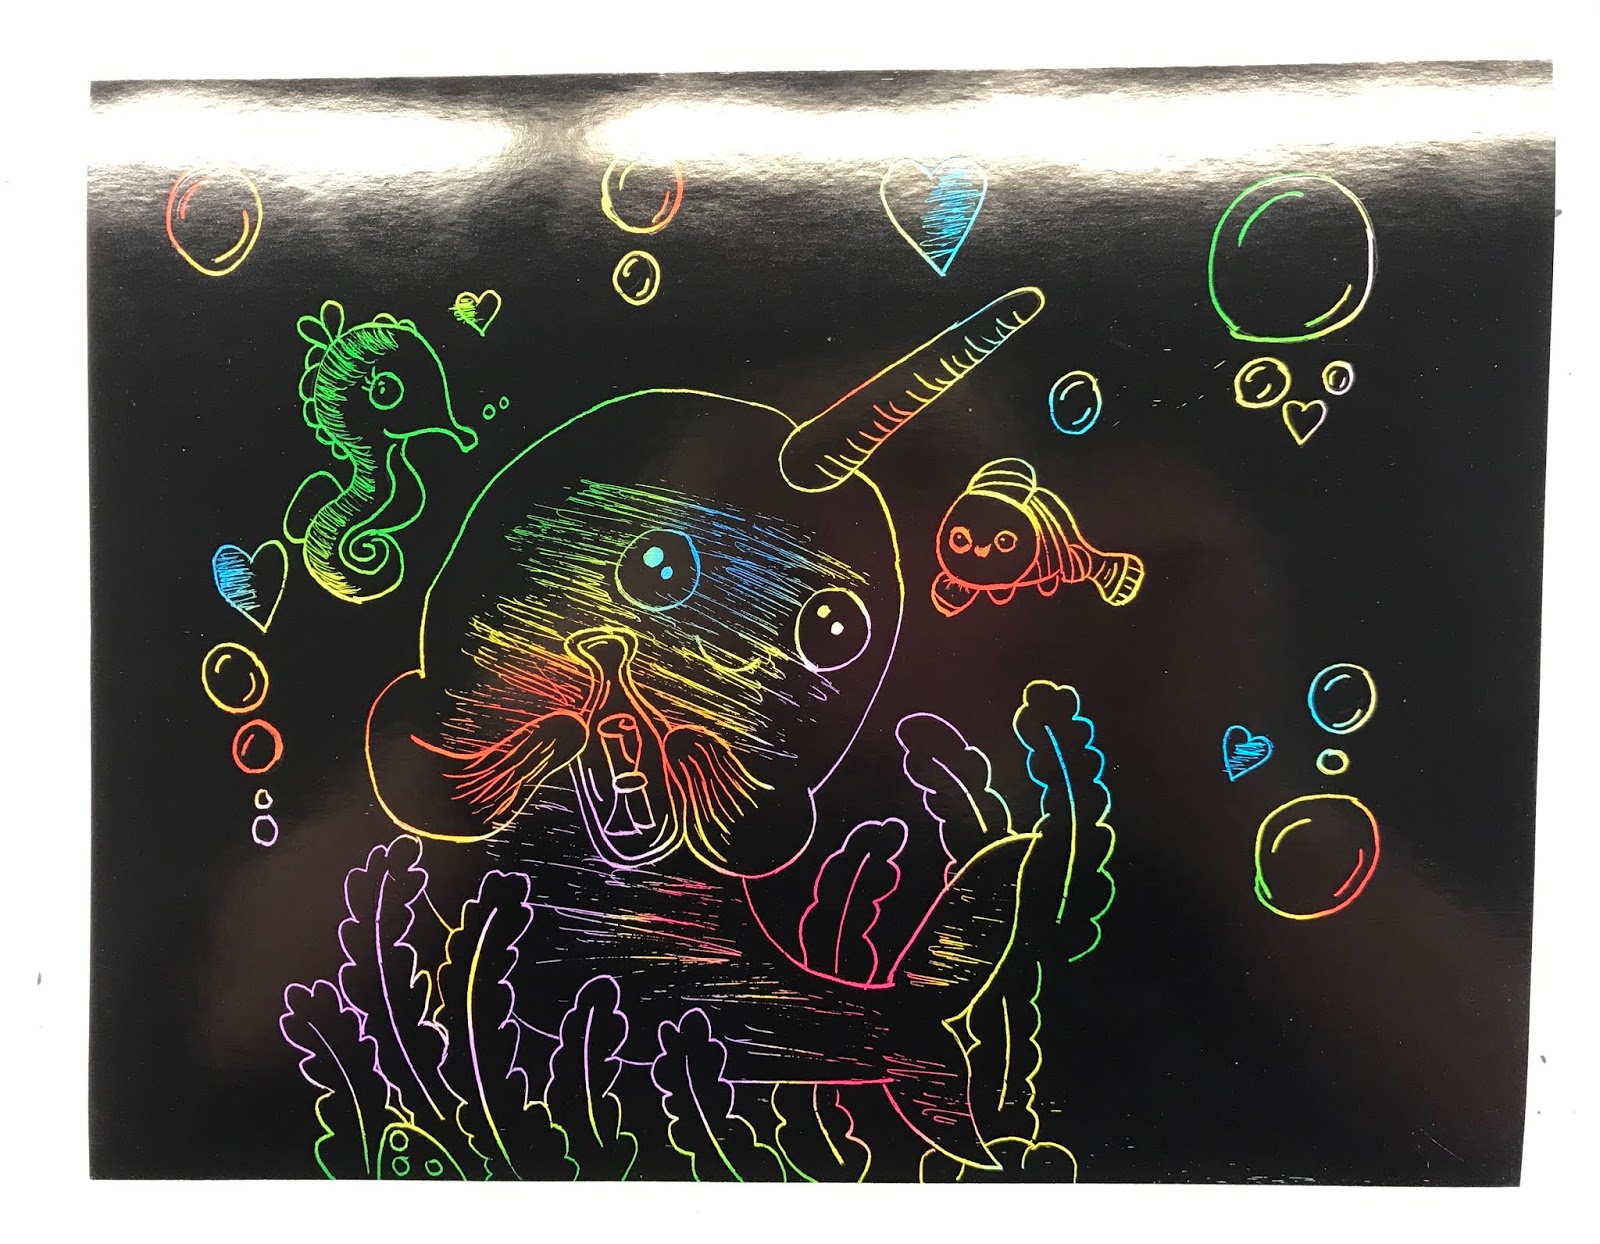
Examples...


No comments:
Post a Comment