
Symmetry / Radial Symmetry


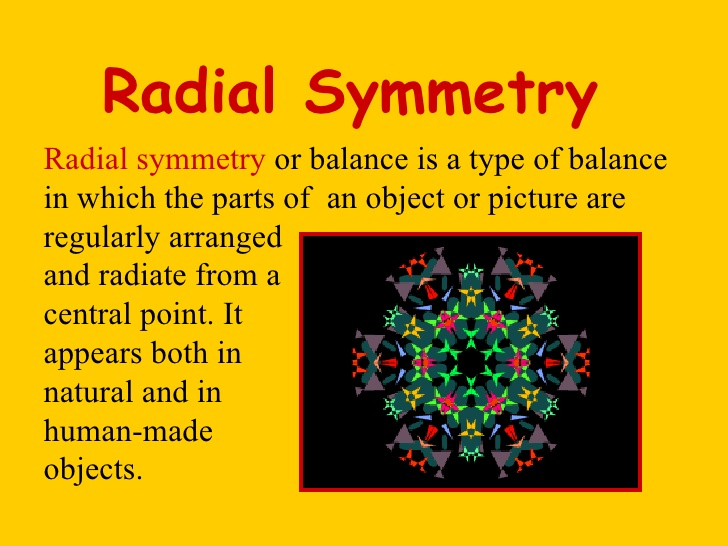
1. Please watch the video that explains
radial symmetry….
2. After watching the YouTube video that
demonstrates radial symmetry, you are going
to create a “found objects” radial design 3D.
*Remember with radial symmetry, objects will
radiate around a central point. Start with a +
that divides it into 4 sections and then work
around it. Whatever is in one of the sections,
is in all 4.
You are to arrange found objects from your
home and create a radial symmetrical design.
Arrange them on the floor or table and then
take a picture of your design with your
chromebook and then please share it with
me on Google Classroom.
My example - Objects from my kitchen…
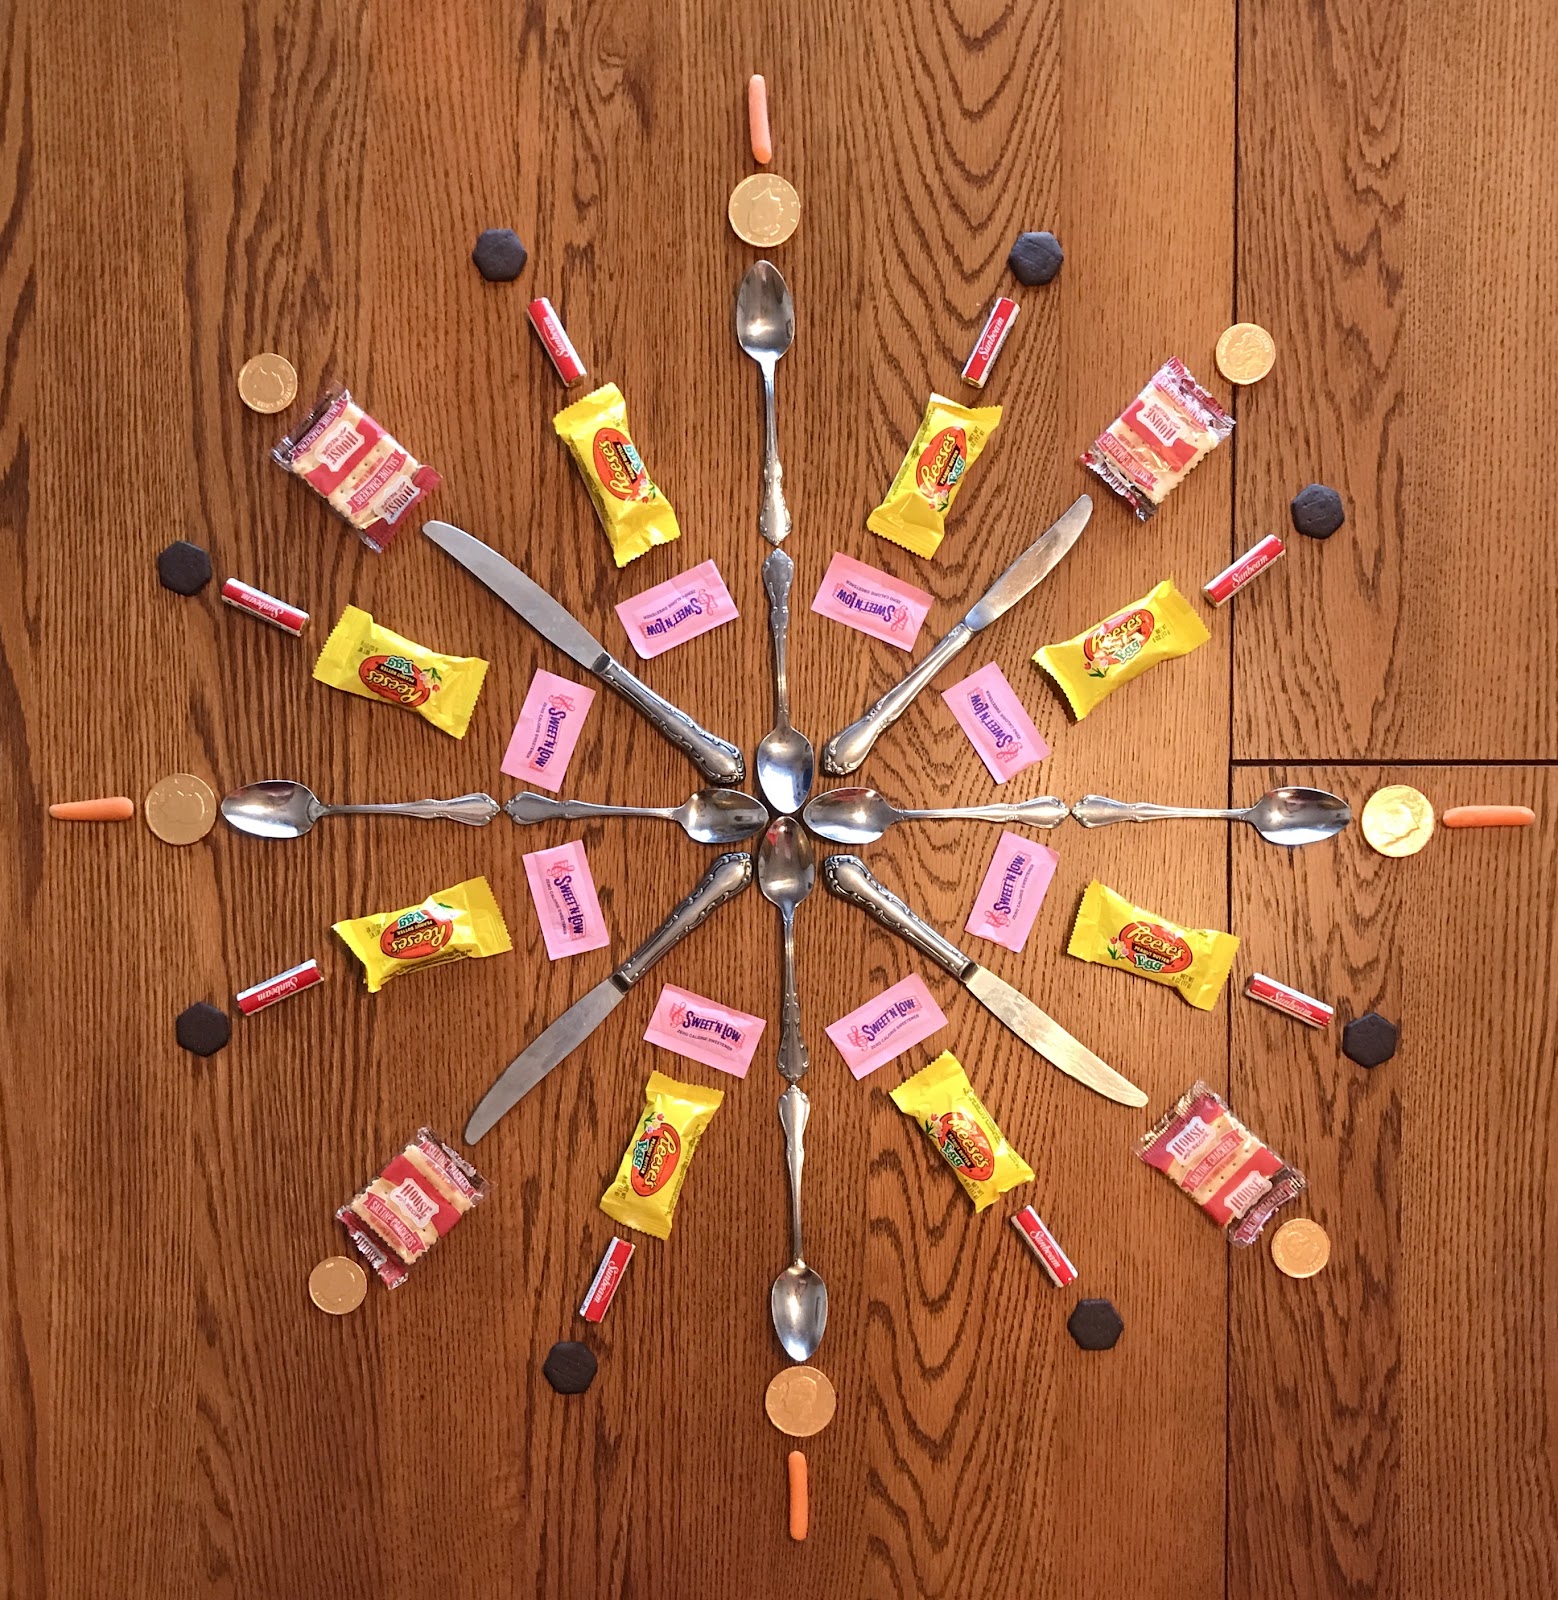
Notice my design radiates from one central
point, the center where the spoons meet.
Think of the spoons as the lines of symmetry,
dividing it into the 4 sections. If you cut the
picture in half and flip it over (the line of
symmetry), it is the same on all 4 sides.
Be creative! You can use shoes, toys,
silverware, legos, fruit, candy, rocks,
coins, crayons….The list can go on and on.
Student Examples...


Student Examples...


No comments:
Post a Comment