

Materials:
Drawing Paper, Pencil, Colored Pencils,
Dark Pen or Sharpie
Objective:
Create a letter design that reflects yourself
through images and symbols in an illuminated letter.
Please watch these short videos
on Illuminated Letters…
History of Illuminated Manuscript
Steps:
1. Students will brainstorm images and symbols
that represent who they are.
2. Next, make some rough sketches from the
image search.
3. Decide on using your first or last name
for Illumination lettering design.
4. Design the first letter of your name,
incorporating the images and symbols.
5. Transfer the initial to the final drawing paper.
6. Embellish negative space if desired and
add detail work to the drawing.
7. Add color to complete the design.
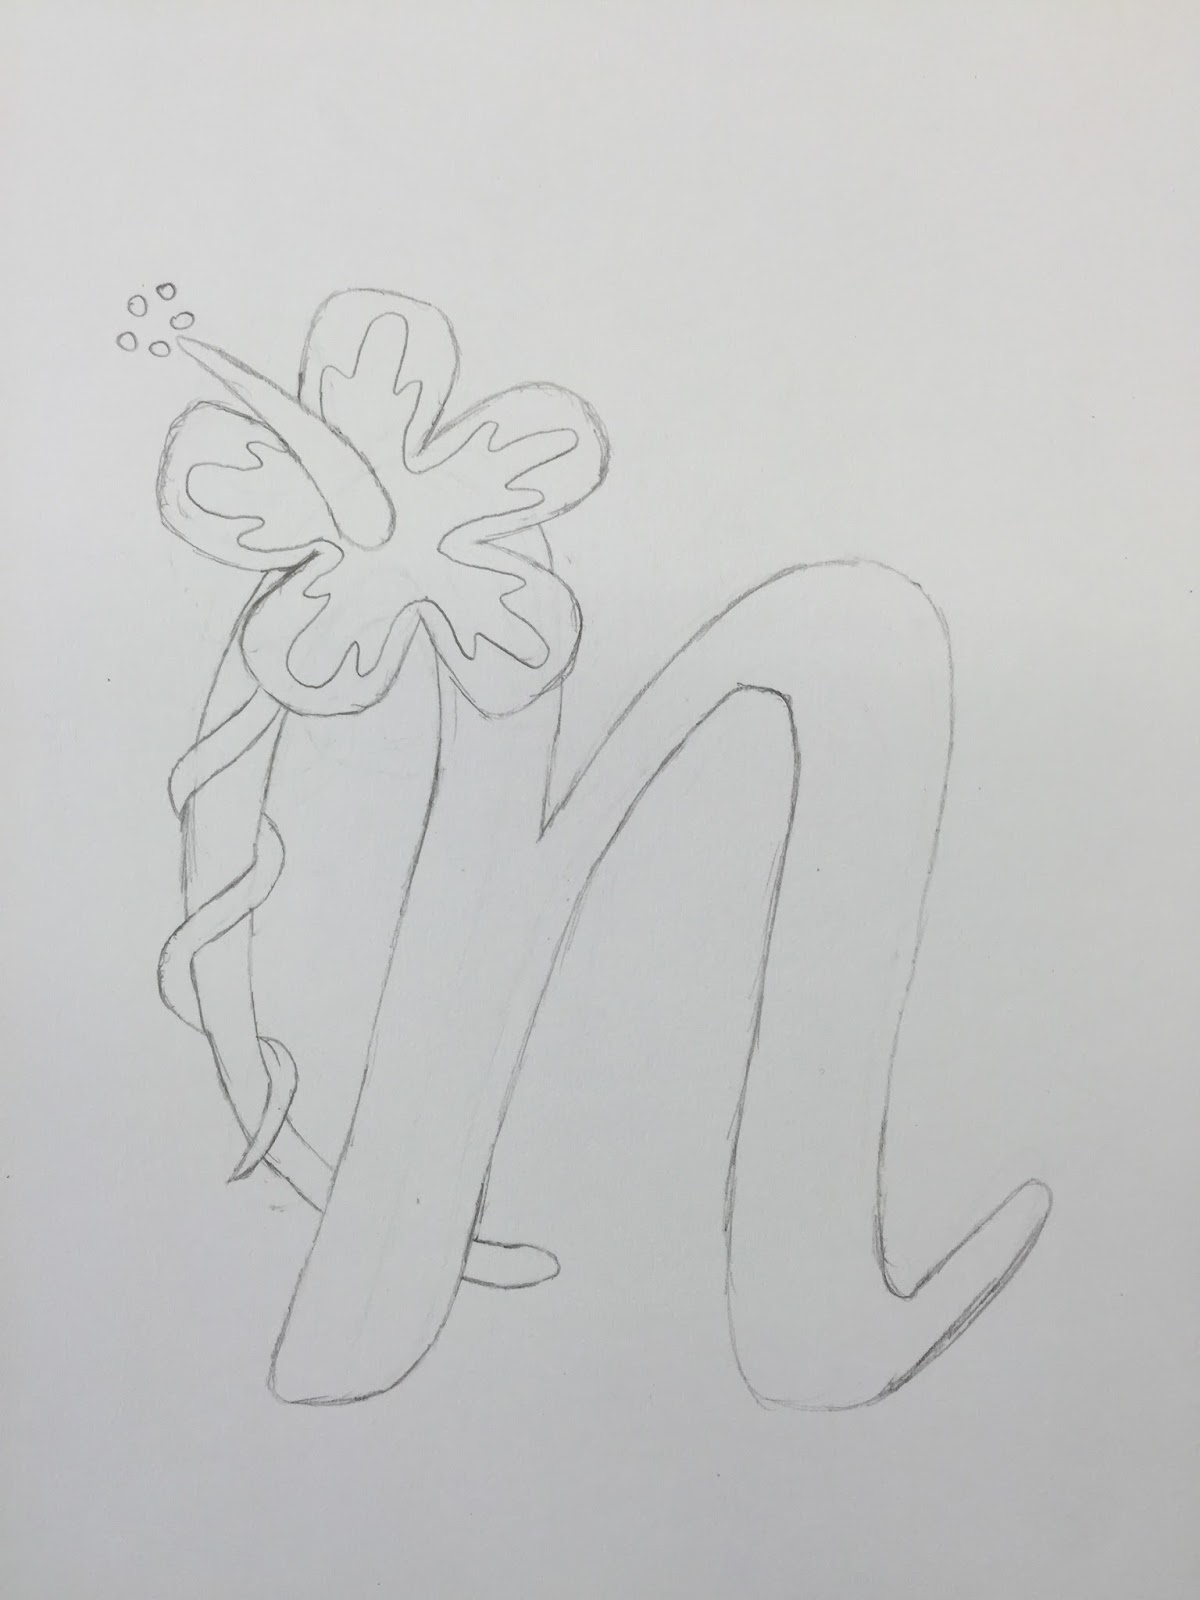
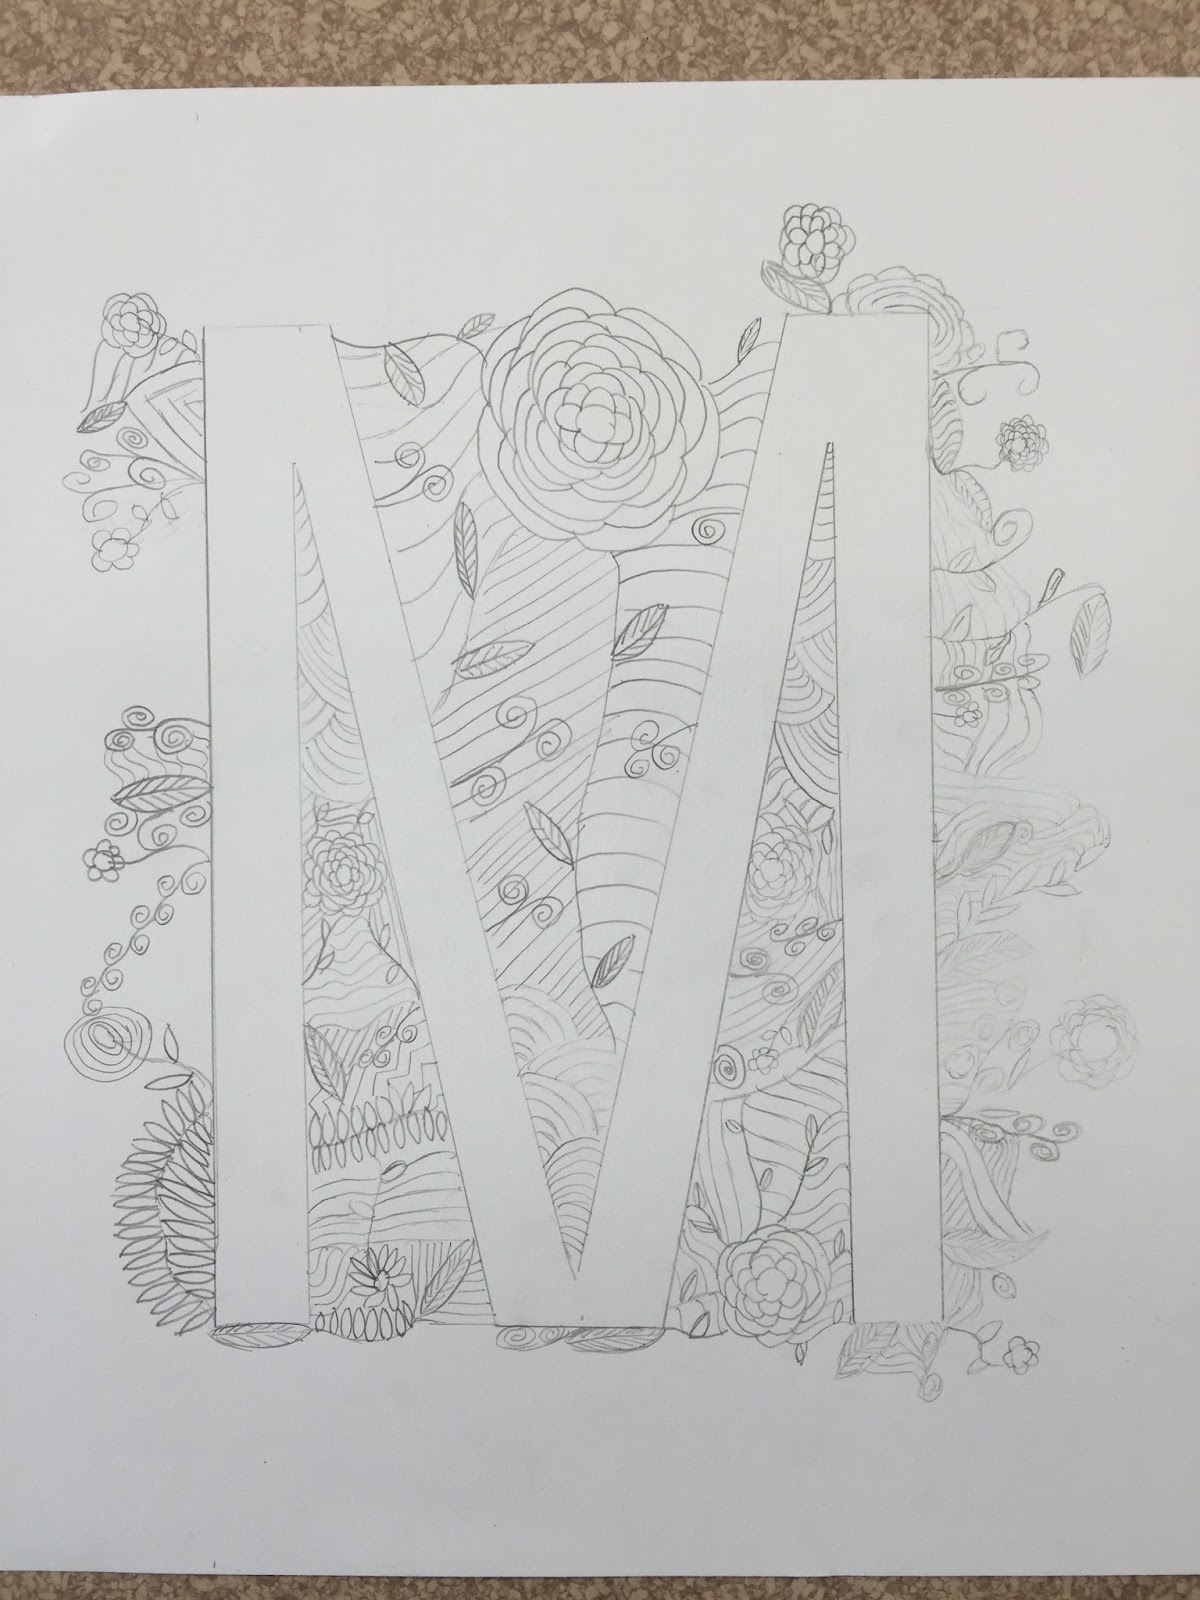
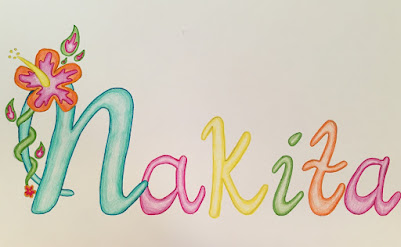
Student Examples....


Next… Pencil in the rest of the name.
Use a ruler/straight edge for guidelines.
Shade the designs with colored pencils.
Outline with pen/sharpie to complete the design.
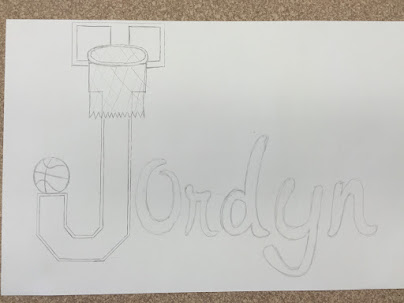
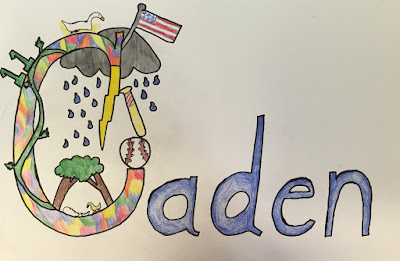
Student Examples...


No comments:
Post a Comment