
Materials: paper, pencil, ruler or straight edge,
pen, colored pencils or markers
Directions:
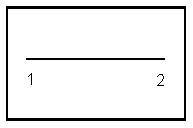
1. Place 2 dots 3-5 inches apart in the center
of the paper. Connect the 2 dots, with the ruler,
to create a horizontal line segment.
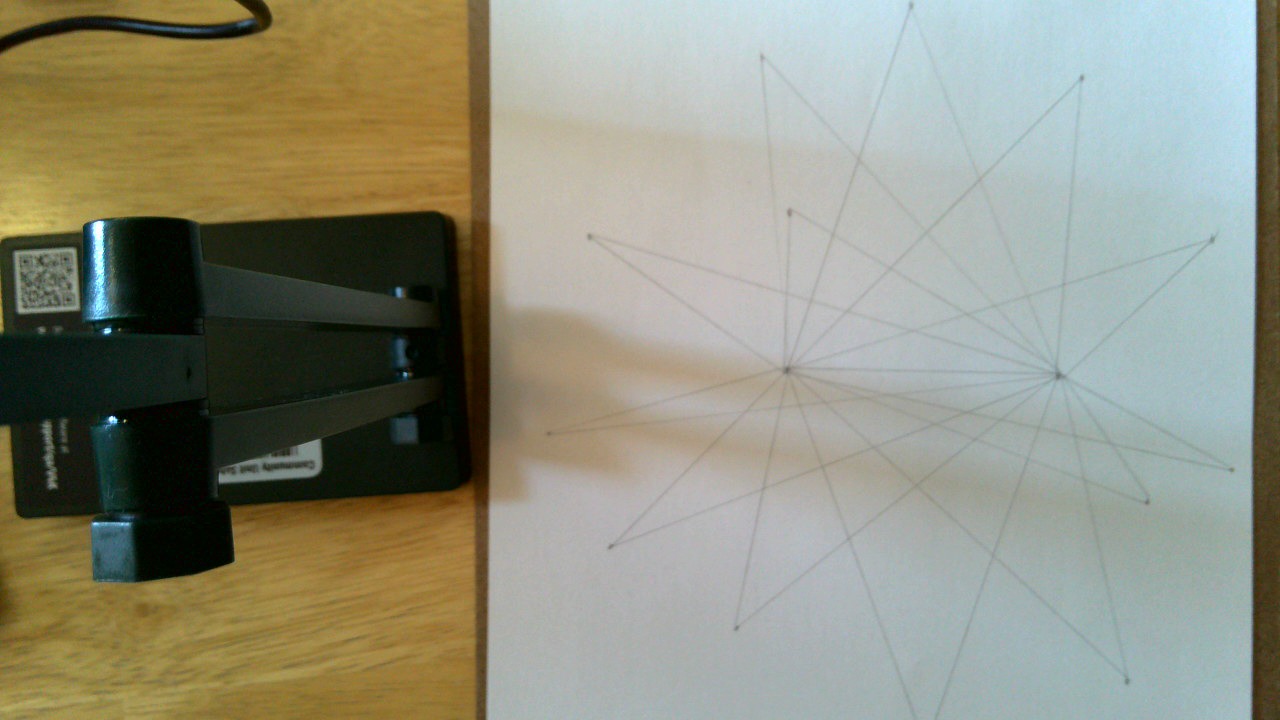
2. Draw 15 to 20 dots all over the paper
(dots may not be along the horizontal line
segment and area if the line segment were
extended to the edge of paper). The dots
should be scattered around on the paper
(some should be near the edges), spread
them out! These will be the points (angles)
on the design. The fewer the dots, the larger
the sections of the Starburst.
3. Use a ruler for every line segment.
(Students have a tendency to want to draw
segments free-handed. A straight line is needed.)
Please watch
Mrs. Miller’s Demonstration How to Draw a Starburst

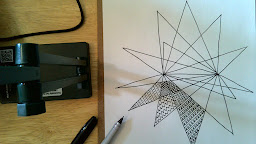
4. Fill each section of the design with Zentangle.
Adding Zentangle to the Starburst
For Zentangle ideas, please watch…
Also
Fill your Starburst with patterns and designs.
You may do this all in pen/sharpie or you
may choose to do this in color. It is up to
you on how you would like to complete your
design.
Examples…


No comments:
Post a Comment