Symmetrical Tile Design
Objective – To create a 2 dimensional symmetrical design with shapes and colors
Materials – 9 x 9 inch newsprint, 9 x 9 inch white paper, pencil, ruler, templates, compass, fine tipped markers, black sharpie
Day 1 – Explain symmetry: The same on both sides, the same on top and bottom. Students will start with a nine inch square piece of newsprint. They will divide the newsprint into 4 equal sections. Students will create a design that is symmetrical by drawing each shape or line 4 times. What they draw in one section – they will draw it in all four sections. The design should be very detailed! Use a ruler, compass, and templates.
Day 2 & 3 – Complete the rough sketches on newsprint and have it approved. The design should be symmetrical and very detailed. Once a design is complete and approved, the student may transfer it onto the 9 inch white paper. The drawing should be very light. Use a ruler and templates. Be careful! Draw the approved design on the white paper. Be careful and draw lightly!
Day 3 – Once students have completed their detailed symmetrical lay-out they may begin to apply color with the fine tipped markers. Remind them to keep the colors symmetrical with the design.
Day 4 – Continue with fine tipped colored markers. Keep the colors symmetrical!
Day 5 – Complete the coloring with the markers. Once everything has been colored, outline the design with black fine tipped identi-pens or sharpie.
Turn in for evaluation.
Questions:
Did the student draw a symmetrical design?
Did the student keep the colors symmetrical with the drawing?
Did the student display neatness and color with good craftsmanship?
Did the student follow directions and complete the symmetrical design?
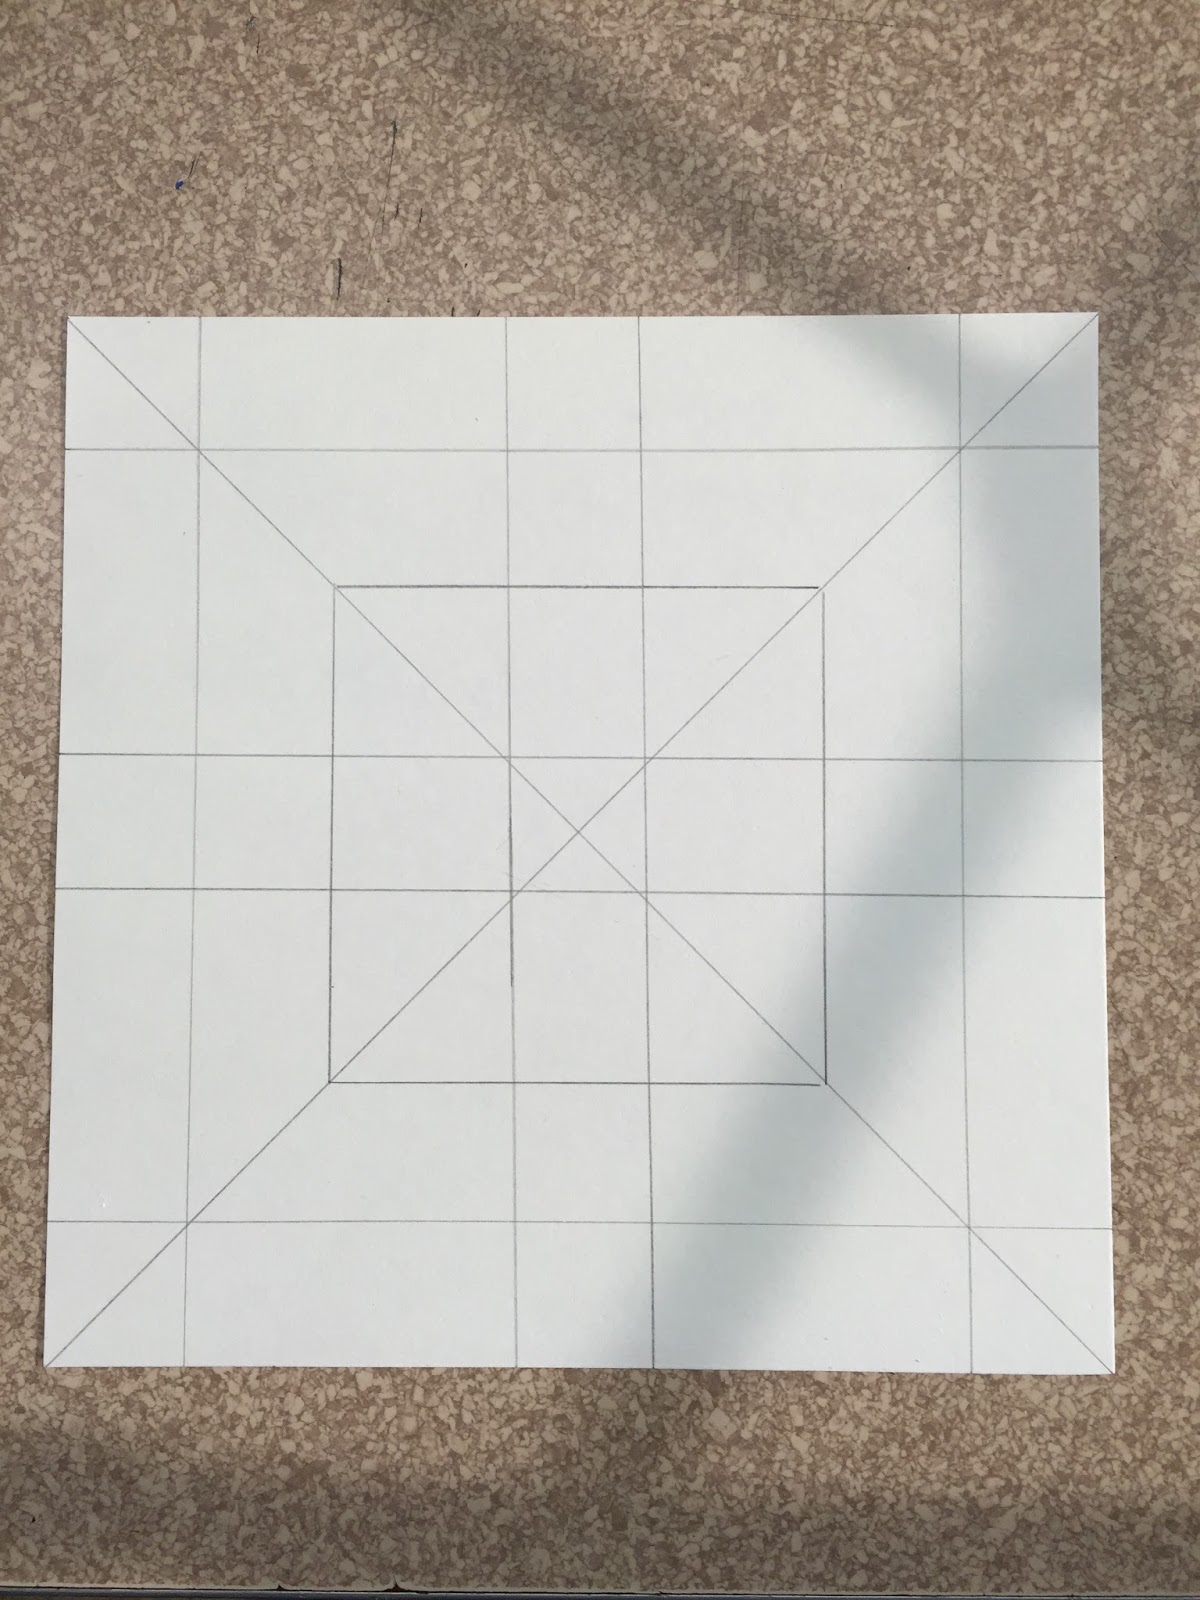
Divide the square into 4 equal sections with a ruler.
With a ruler or template, begin adding shapes and lines. Rule is - whatever you put in one section, you put it in all 4. Build on your design until you have a highly detailed symmetrical design.
When the drawing is complete, begin adding color to the design. When adding color, be sure to keep the colors symmetrical with the design. If you color one shape, color all four before moving on.
When finished coloring, outline the symmetrical design with a black pen.