What is a landscape? Please watch...What is a landscape?
Mrs. Miller’s Demonstration...
Materials: Paper, Pencil, Markers
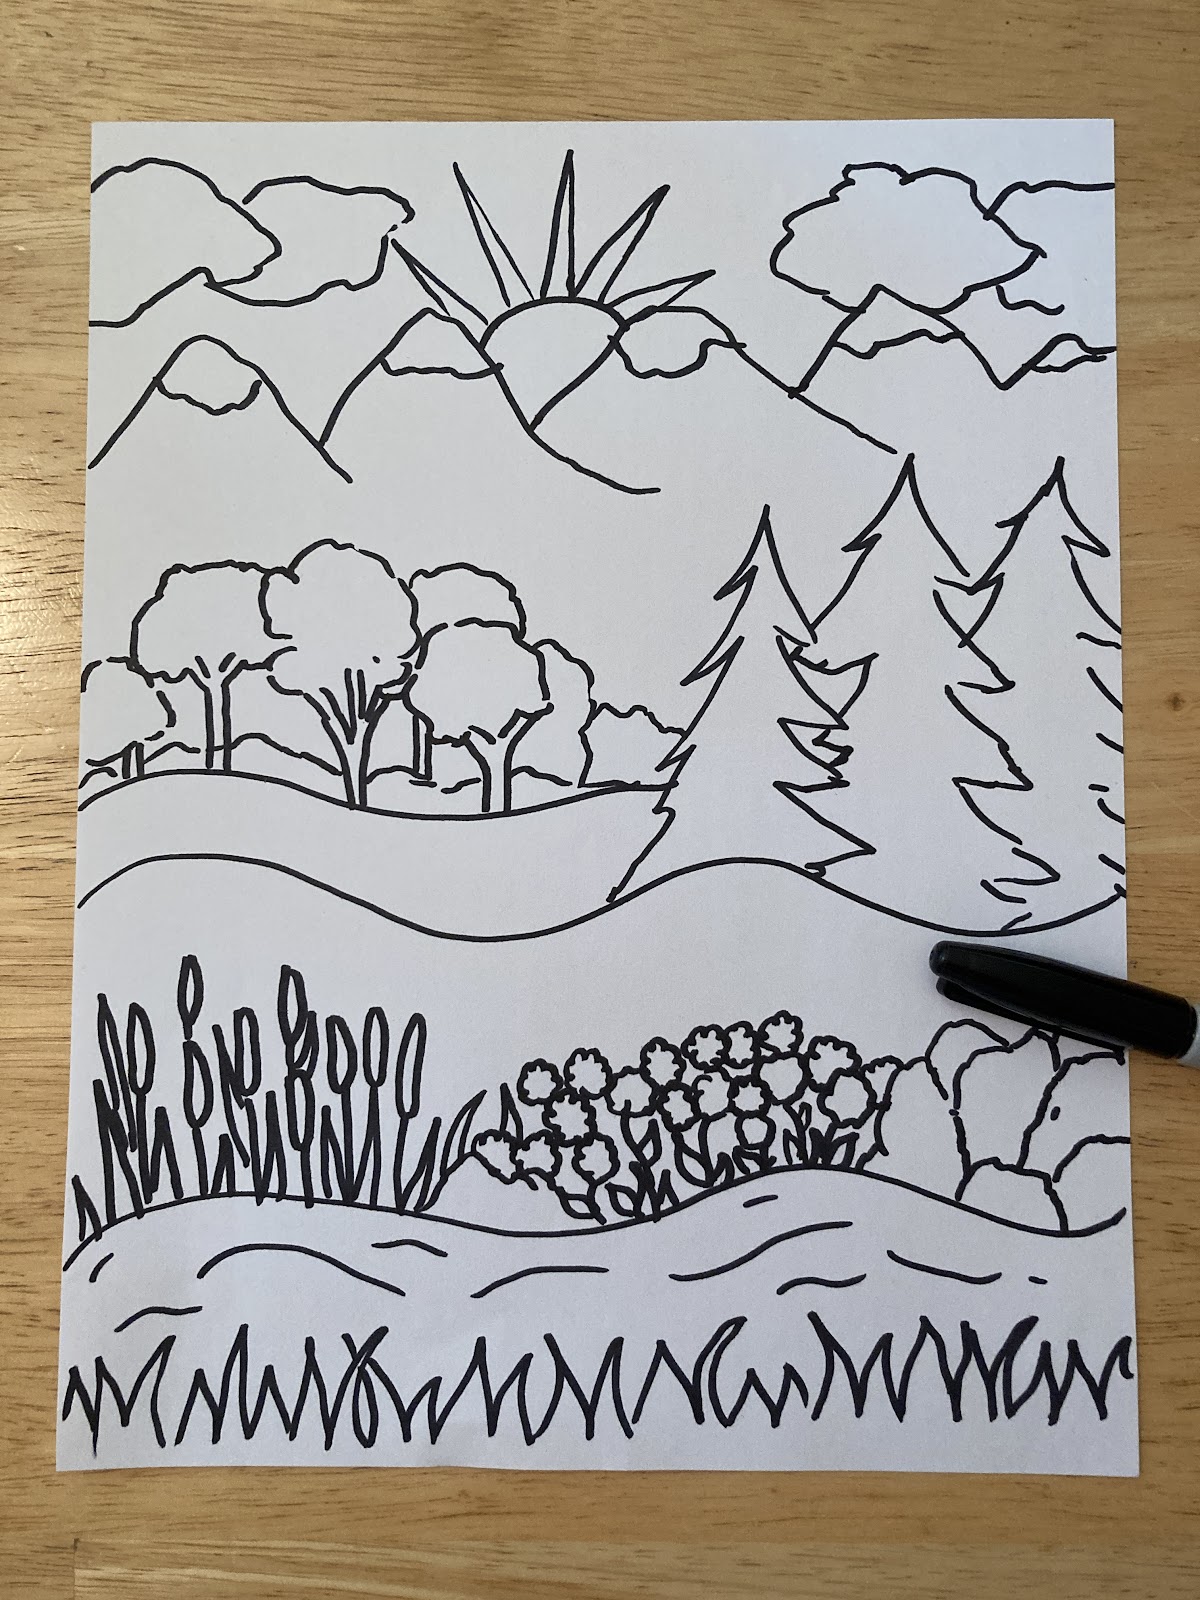
1. Draw a simple landscape that fills your paper with
many different layers. Rocks, grass, hills, water, mountains,
trees, sunset, clouds etc… Draw each area as a shape and
leave it open/white inside. Fill your space with many
sections of the landscape.
Please draw a foreground, middle ground and background.
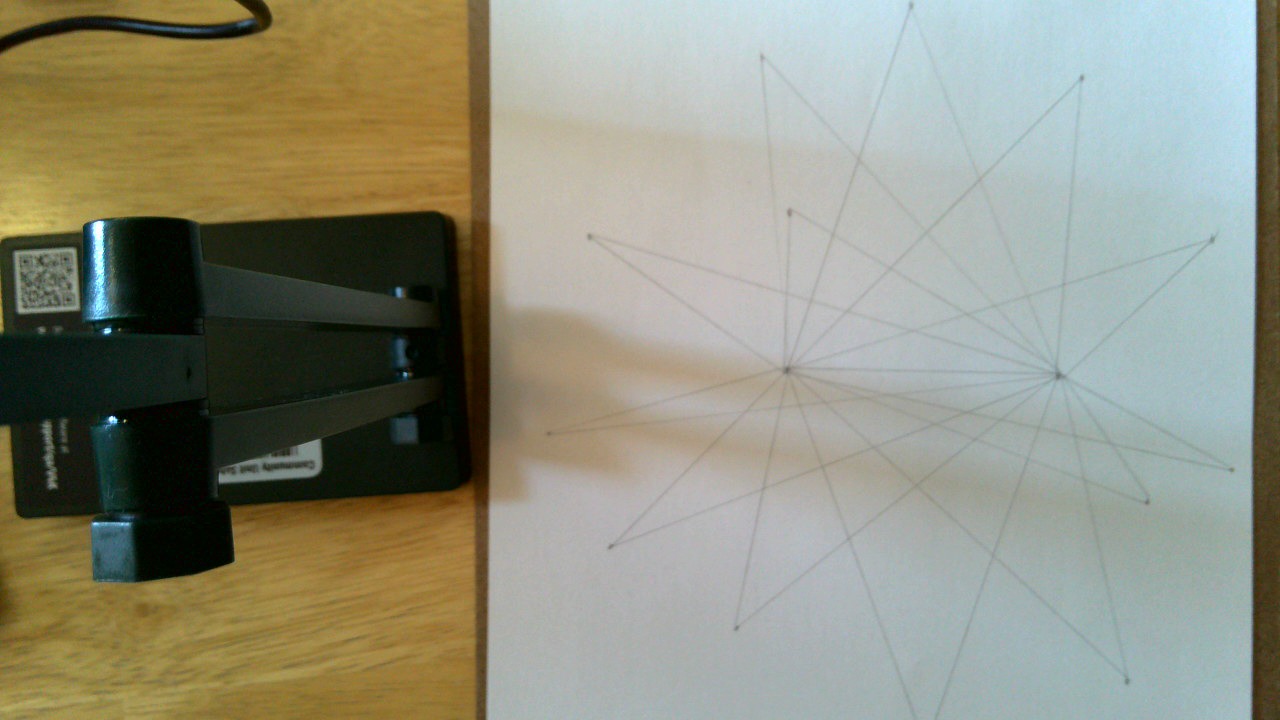
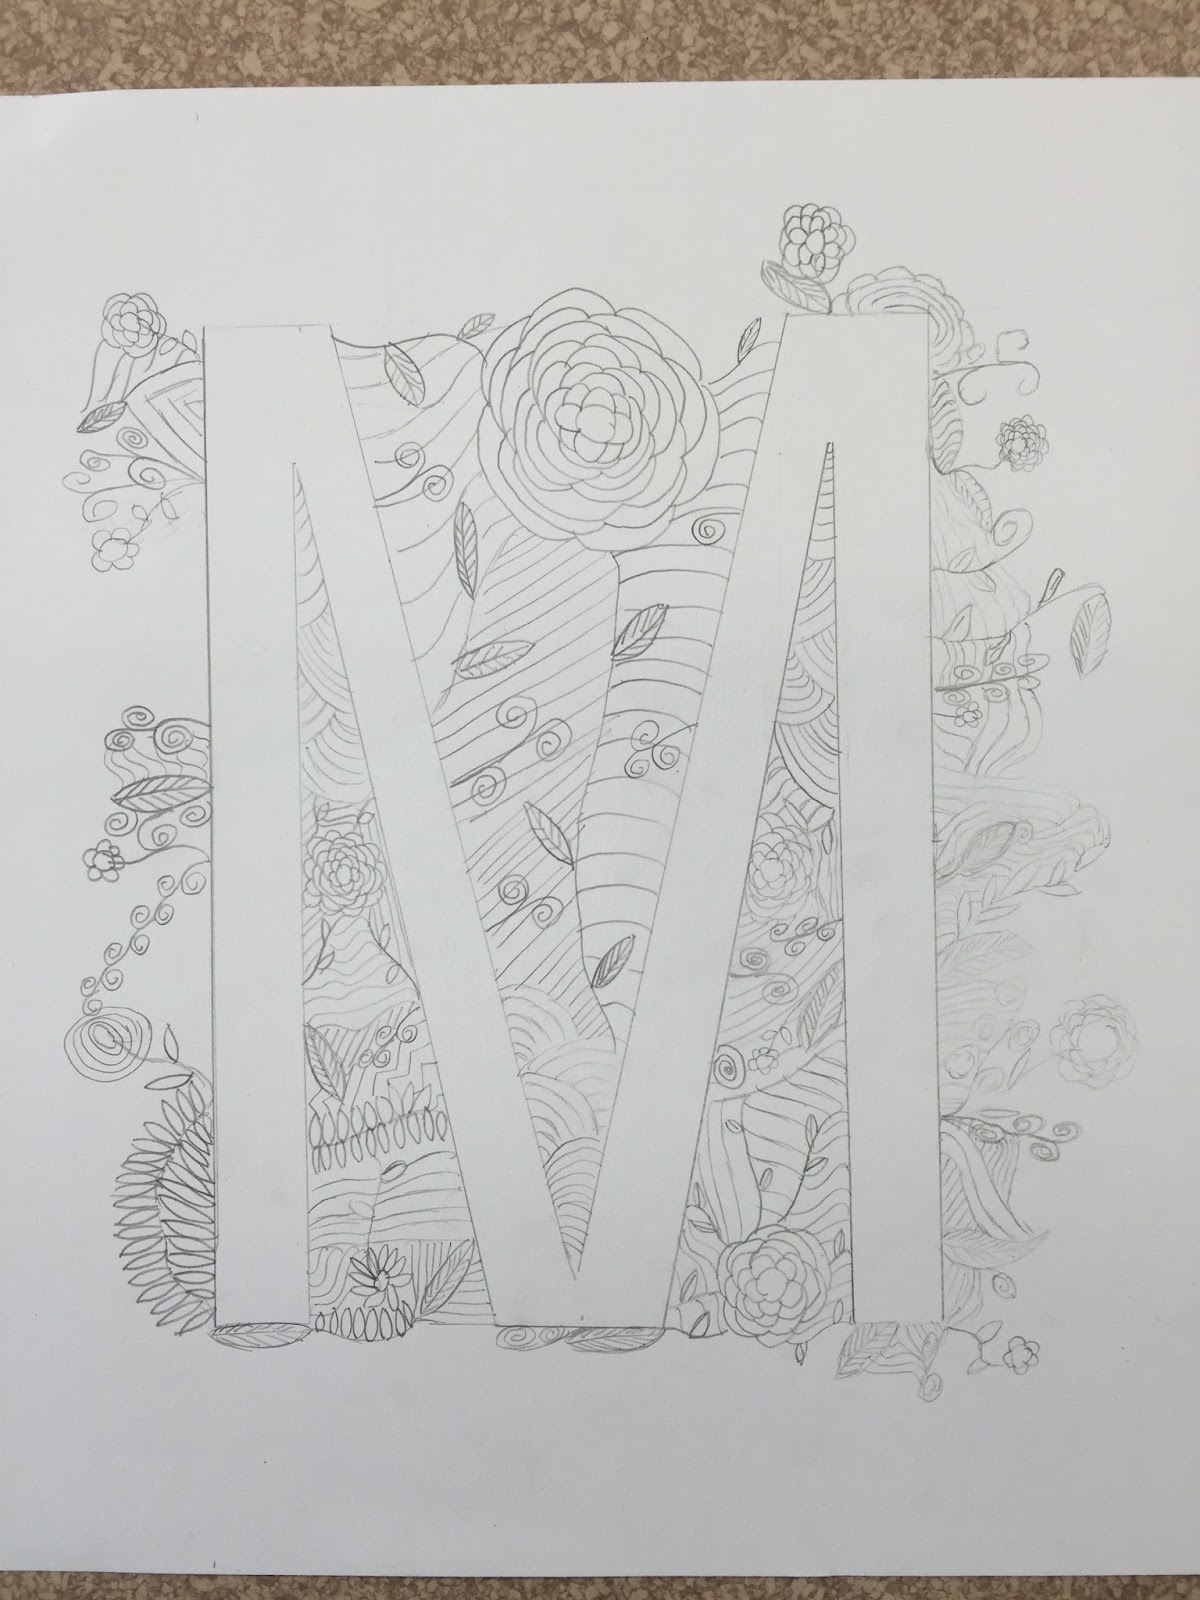
Be creative. Please refer to my
example, but do not copy.
2. Outline the landscape with a dark marker or sharpie.
Discuss Texture
Please watch...Texture
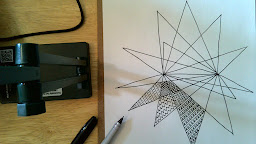
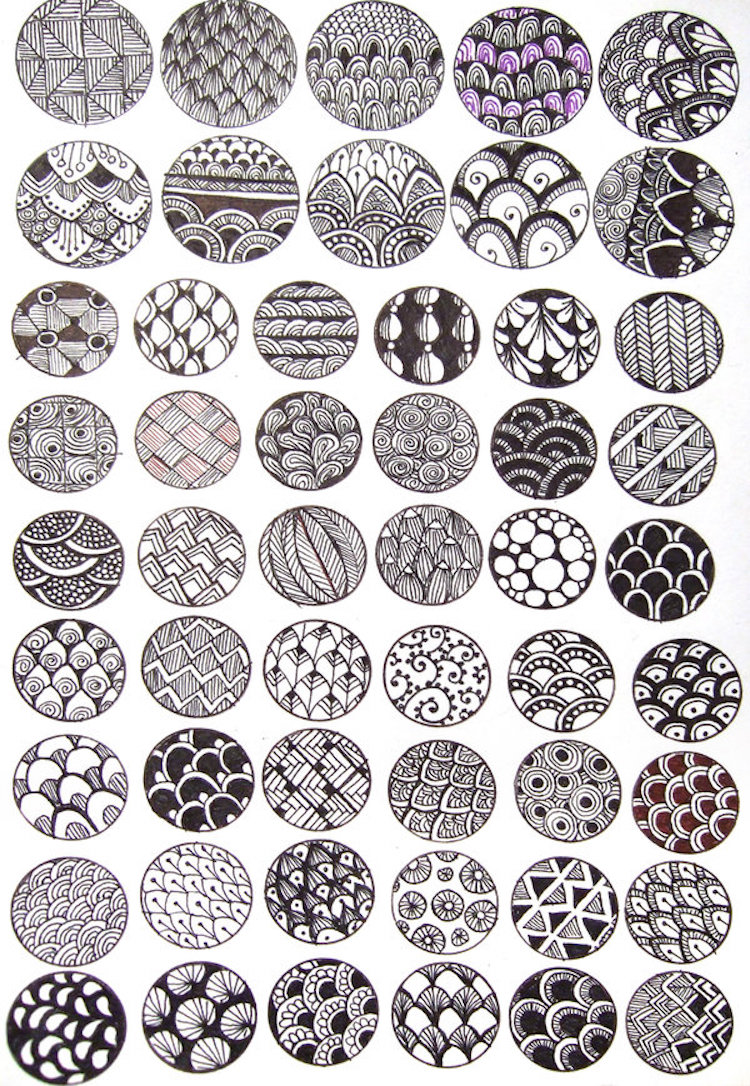
3. Fill each section/shape of the landscape with a pattern or
design to create the texture of each section. Use colored markers
to add color to the textures.
Please watch...Mrs. Miller demonstrates adding color and texture.
Fill the entire picture.


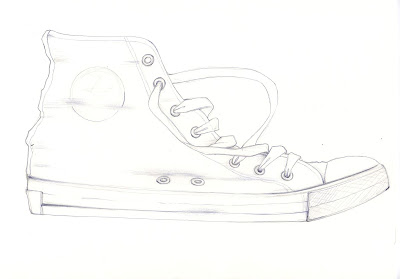
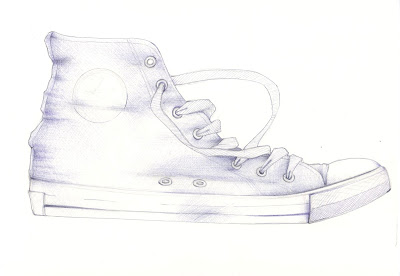
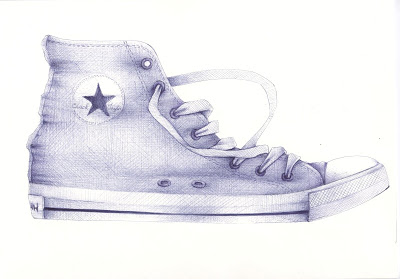
Student Examples...


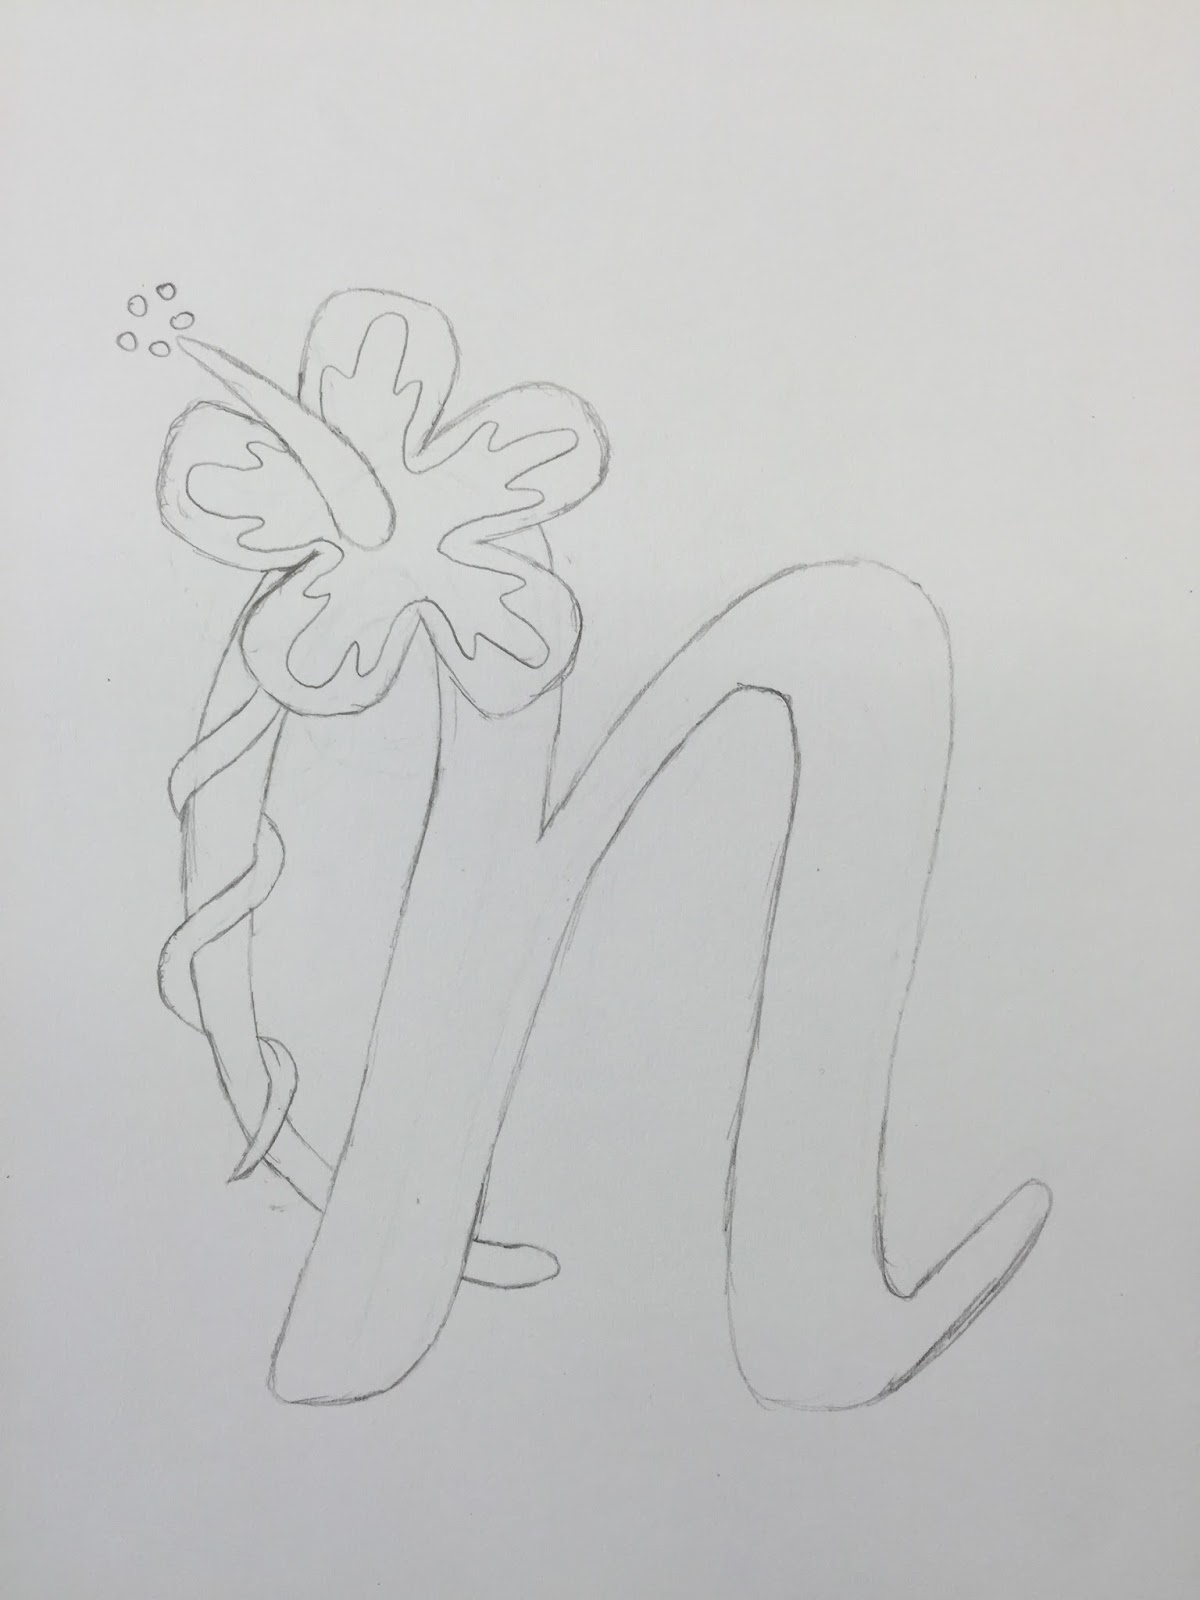
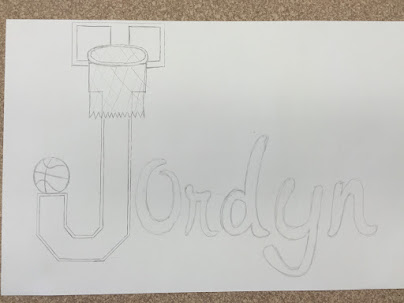
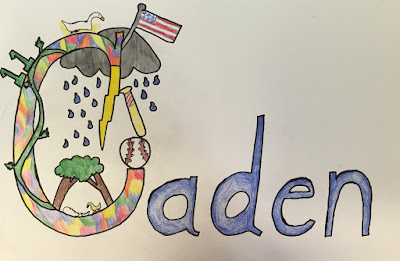
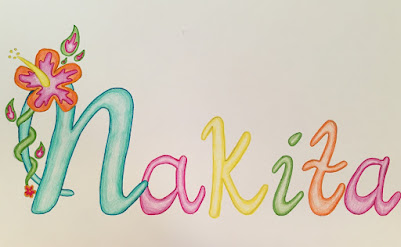


 Student Examples...