
7th Grade Metal Tooling, Ceiling Tile Design


American Tin
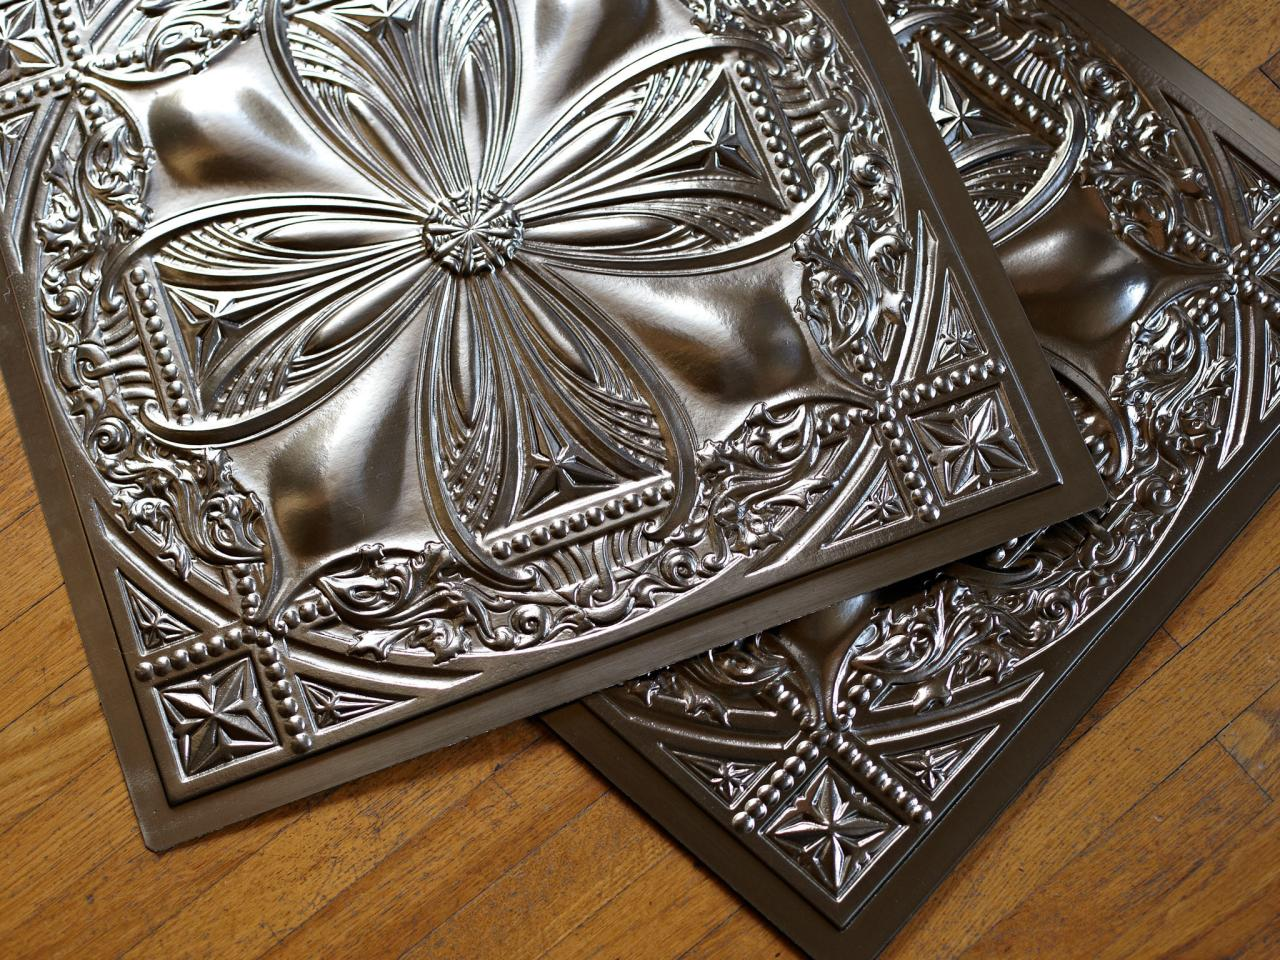
In the United States, the use of tin for
ceiling tiles began as a facsimile of the
types of designs that were used among
European aristocrats in the 19th century.
While European tiles were made out of
carved plaster, American tin tiles tended
to replicate the styles that they noticed.
In the United States, the use of tin for
ceiling tiles began as a facsimile of the
types of designs that were used among
European aristocrats in the 19th century.
While European tiles were made out of
carved plaster, American tin tiles tended
to replicate the styles that they noticed.
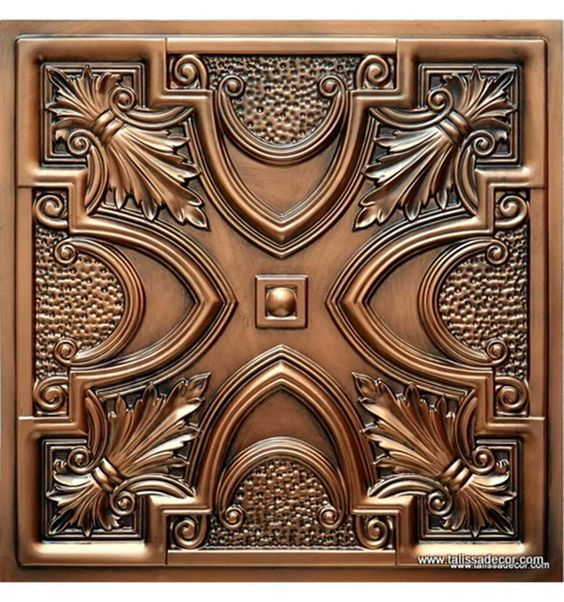
The Victorian era saw the beginning
of mass production of tin ceiling tiles.
These tiles were patterned out of thin
rolled plates, made by companies
located along major railroad stops so
that they could be shipped out easily.
These sheets were stamped using
hammers and cast iron molds. The
finished tiles were painted with a
finish that gave them the appearance
of the expensive, hand-carved
plaster that was so popular in Europe.

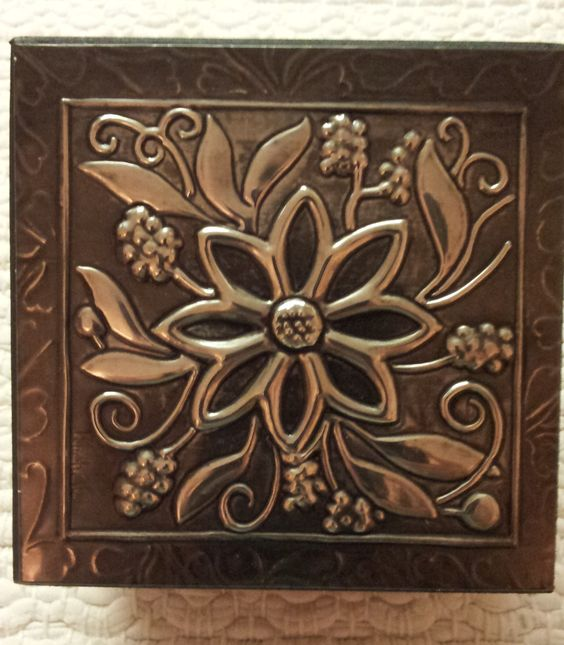
Objective:
Students will create a
3 dimensional metal/tin relief
design based on the art of
ceiling tiles, while building on
skills learned from their
symmetrical designs. This is a
cross curricular project with
Industrial Arts Class where they
will be building a 5 inch square
frame to display their
metal tile design.
Materials:
6 inch square newsprint,
pencil, 6 inch squares of tin,
ballpoint pen, tape, newspapers,
wooden stylus, rulers, templates
6 inch square newsprint,
pencil, 6 inch squares of tin,
ballpoint pen, tape, newspapers,
wooden stylus, rulers, templates
Vocabulary:
line, texture, symmetry,
3 dimensional
line, texture, symmetry,
3 dimensional
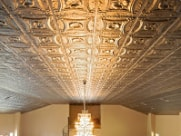
Day 1:
Introduction to metal tooling.
We will discuss and look at
examples of tin ceiling tiles.
We will look at the similarities
between ceiling tiles and
our 2D symmetry designs.
Students will idea search with
Google images.
Finally, students will develop a
drawing on their 6 inch square
newsprint. Students may
freehand the design or
choose to use rulers and
templates.
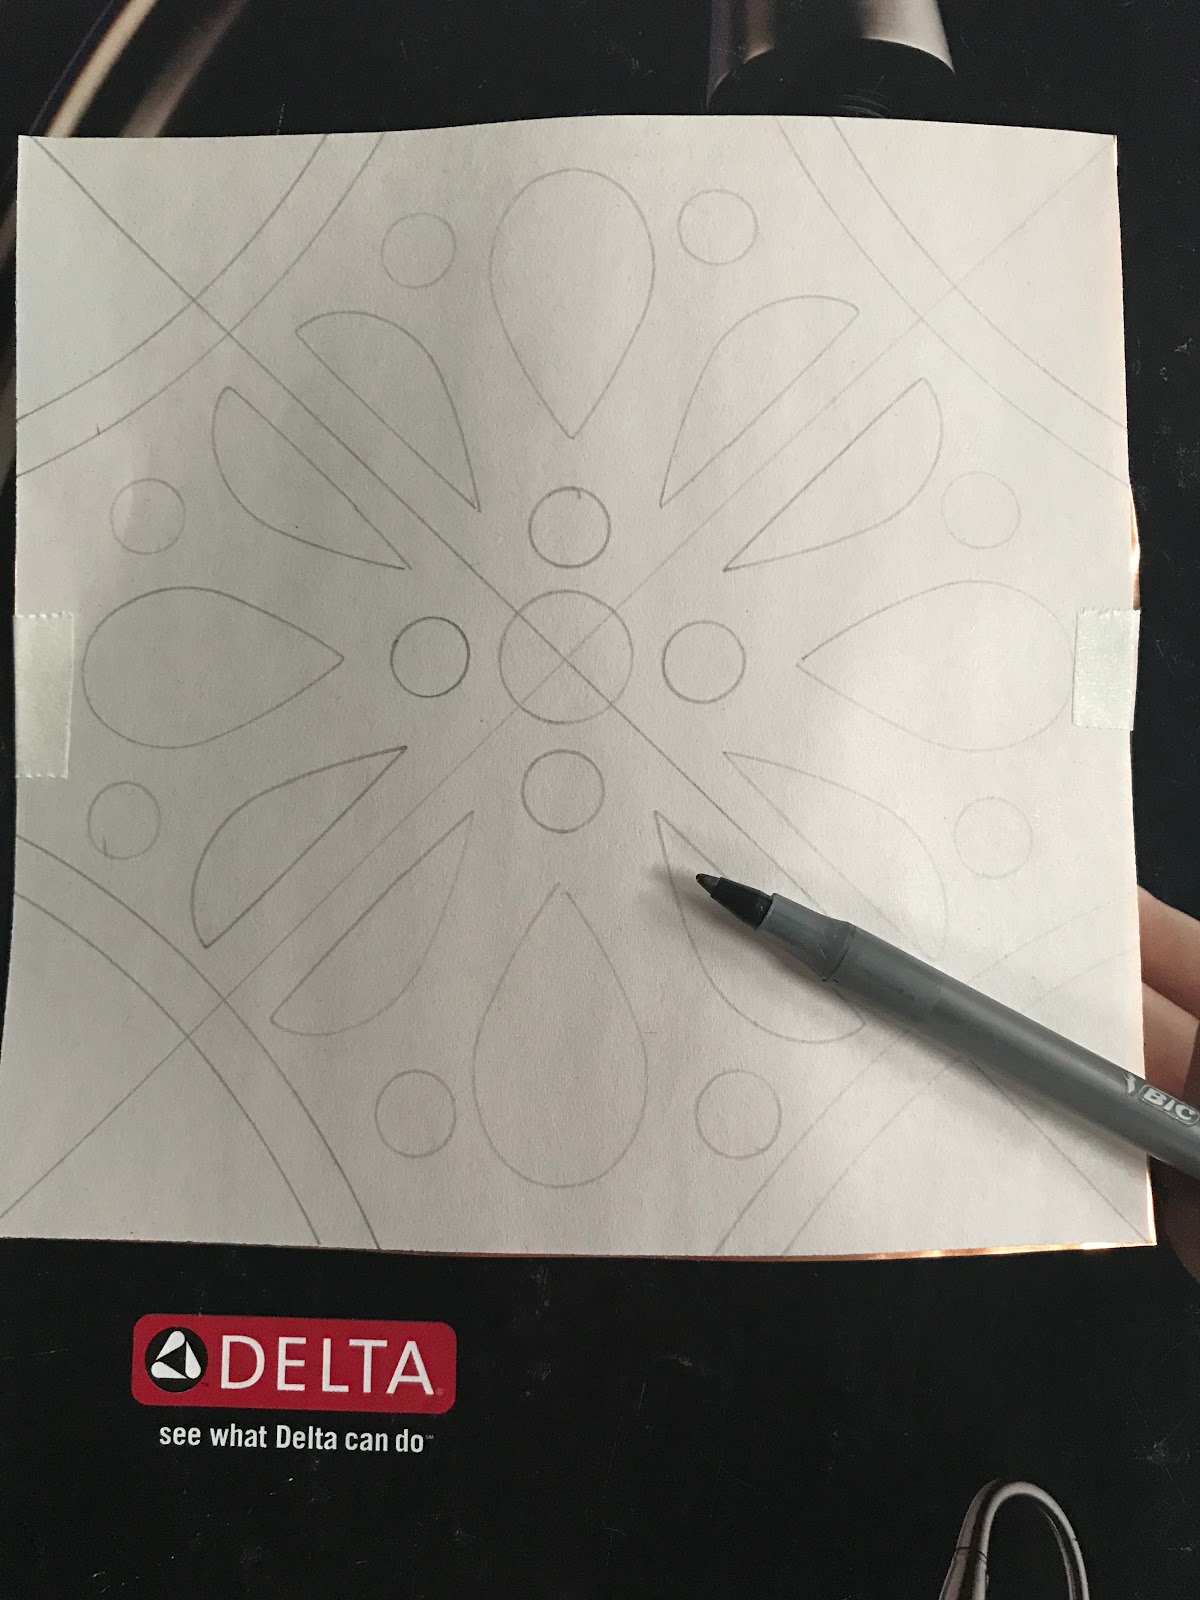

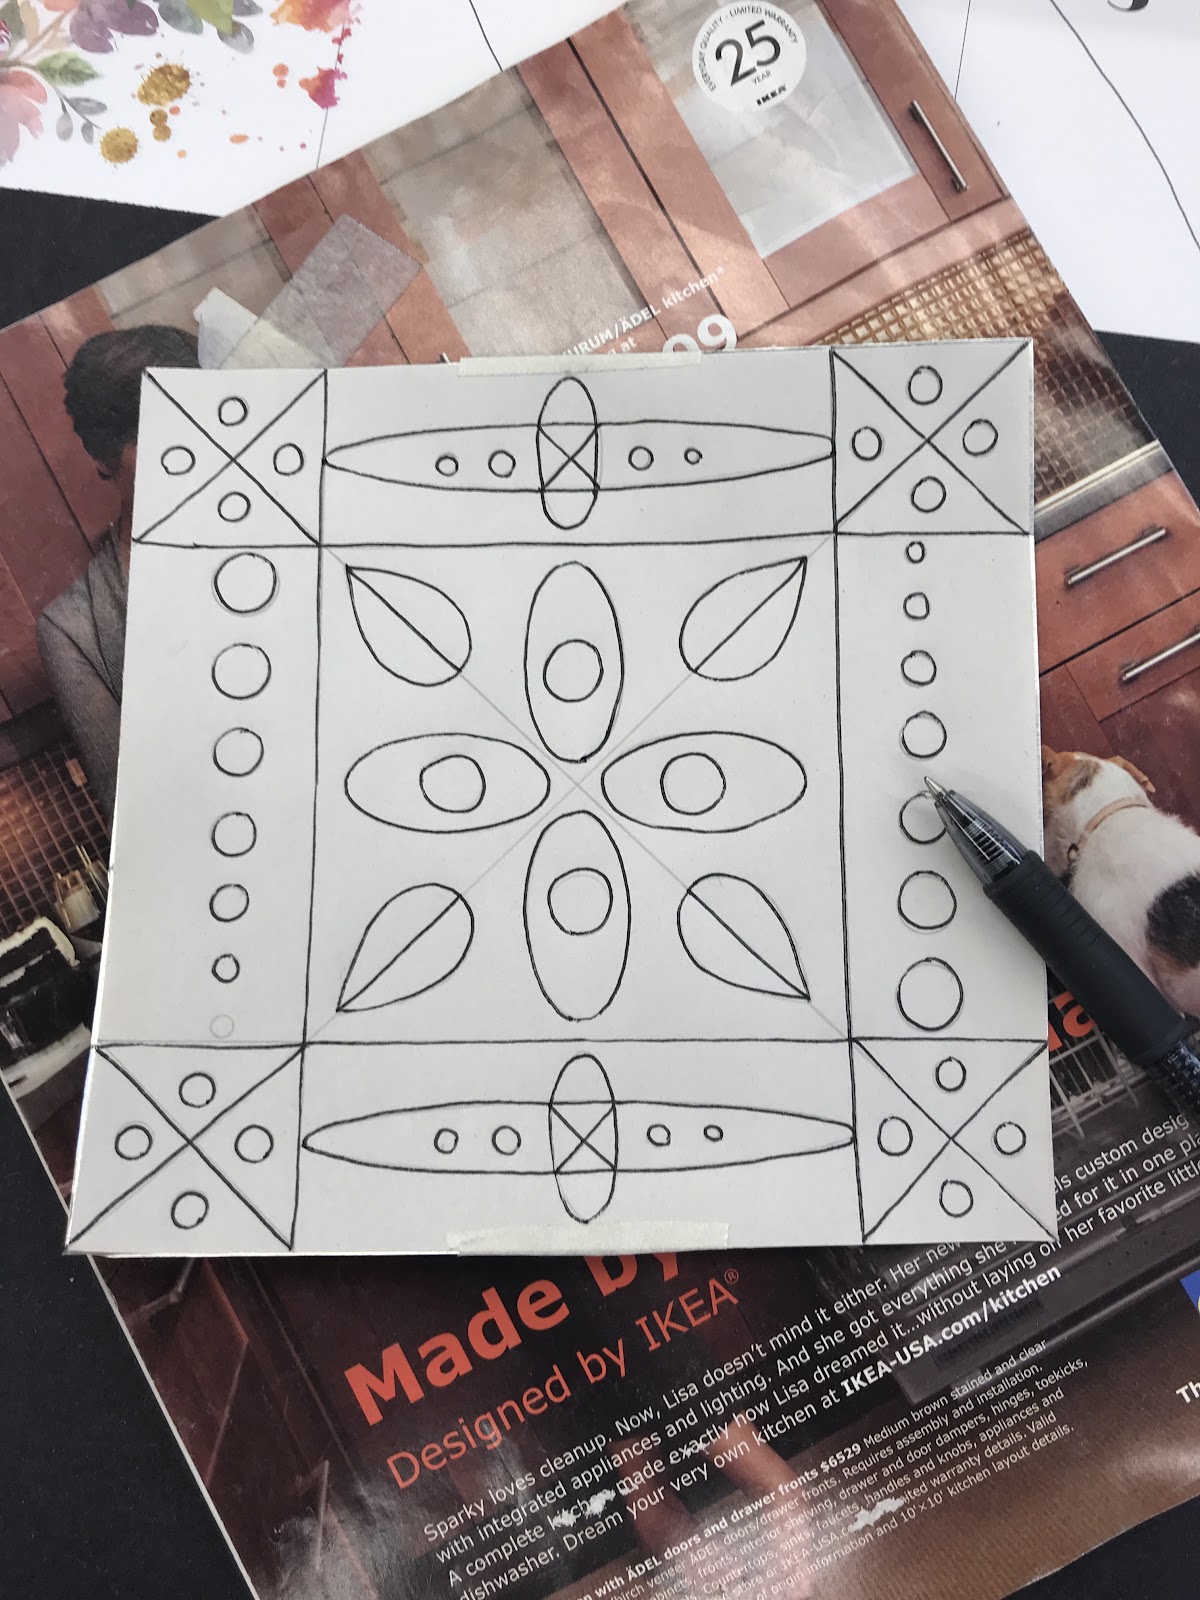
Day 2: Students will complete their
drawing from day 1. Students will
tape their newsprint drawing onto a
piece of tin.
With newspapers or a magazine
under the metal, students trace
their drawing onto the metal with
a ballpoint pen. This will leave an
indentation of their drawing on the
metal.
drawing from day 1. Students will
tape their newsprint drawing onto a
piece of tin.
With newspapers or a magazine
under the metal, students trace
their drawing onto the metal with
a ballpoint pen. This will leave an
indentation of their drawing on the
metal.

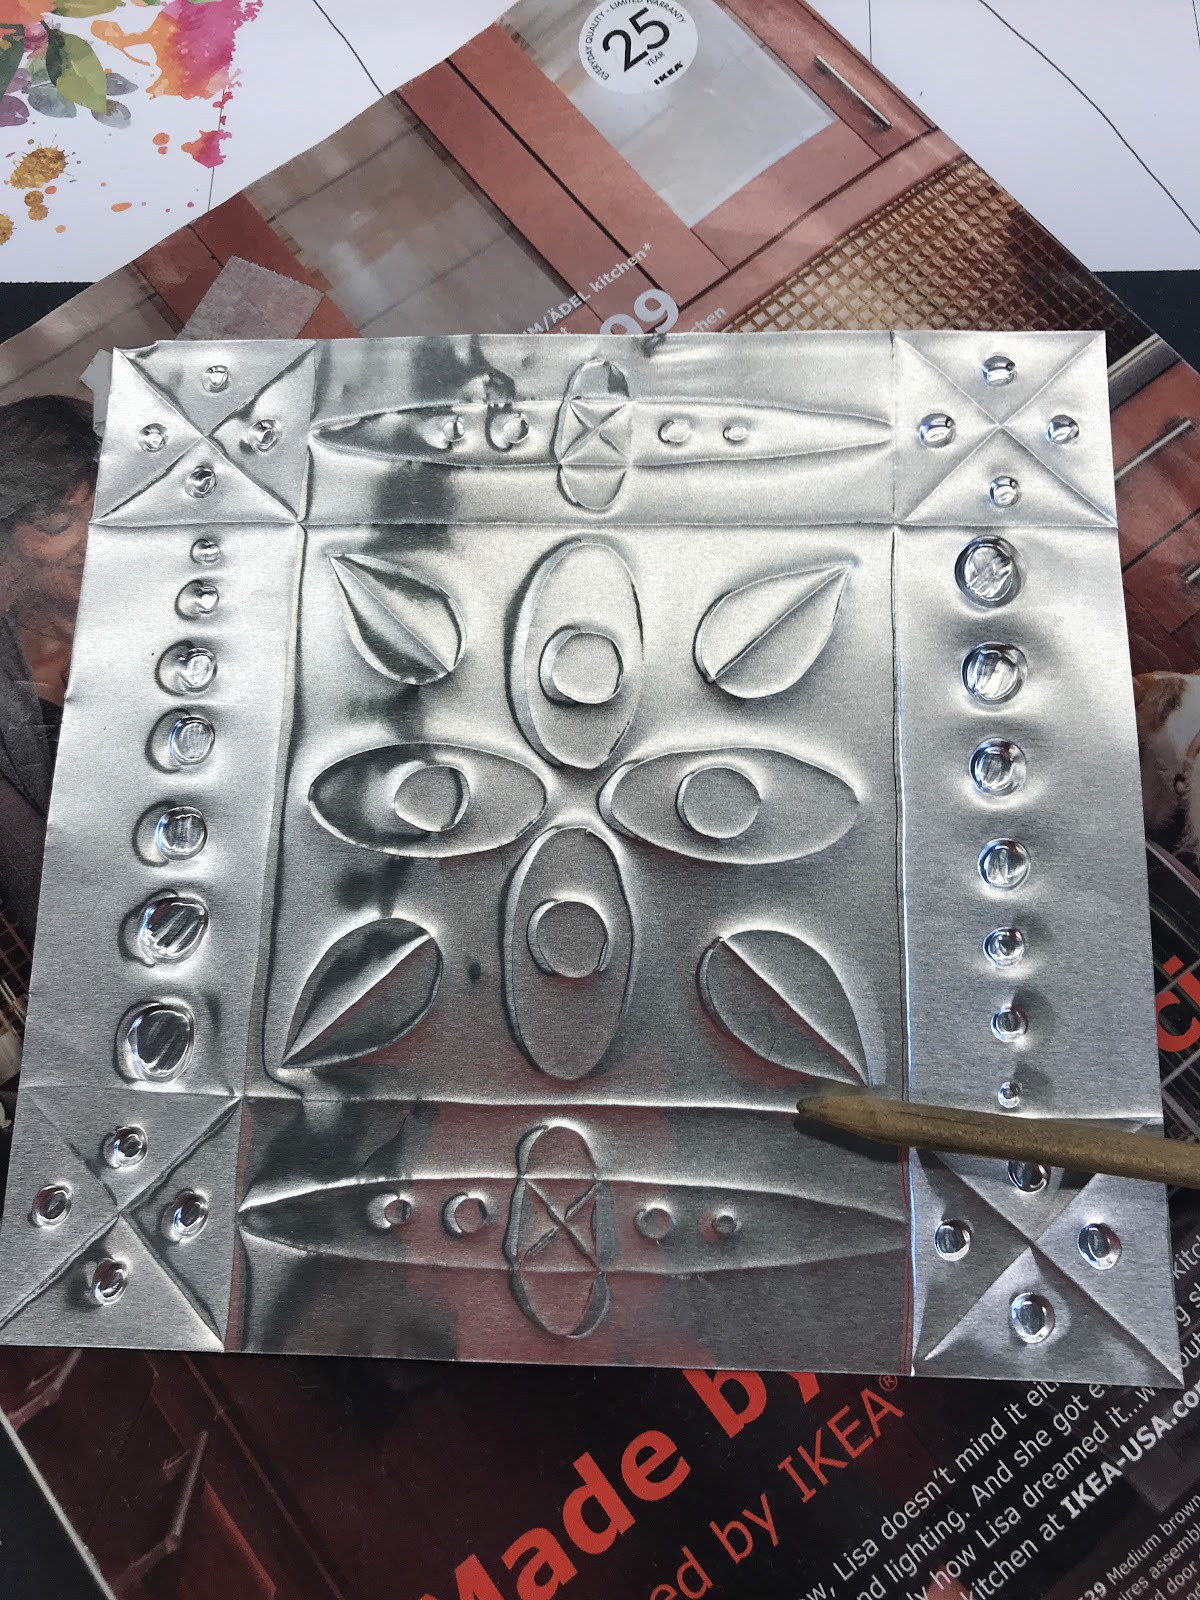
Day 3: Students will remove the
newsprint drawing. With a wooden
stylus tool, students will go over
the design on the metal. Be sure
to have newspapers or magazines
under the metal when tooling!
This cushion will allow for a deeper
groove and a better 3 D design.
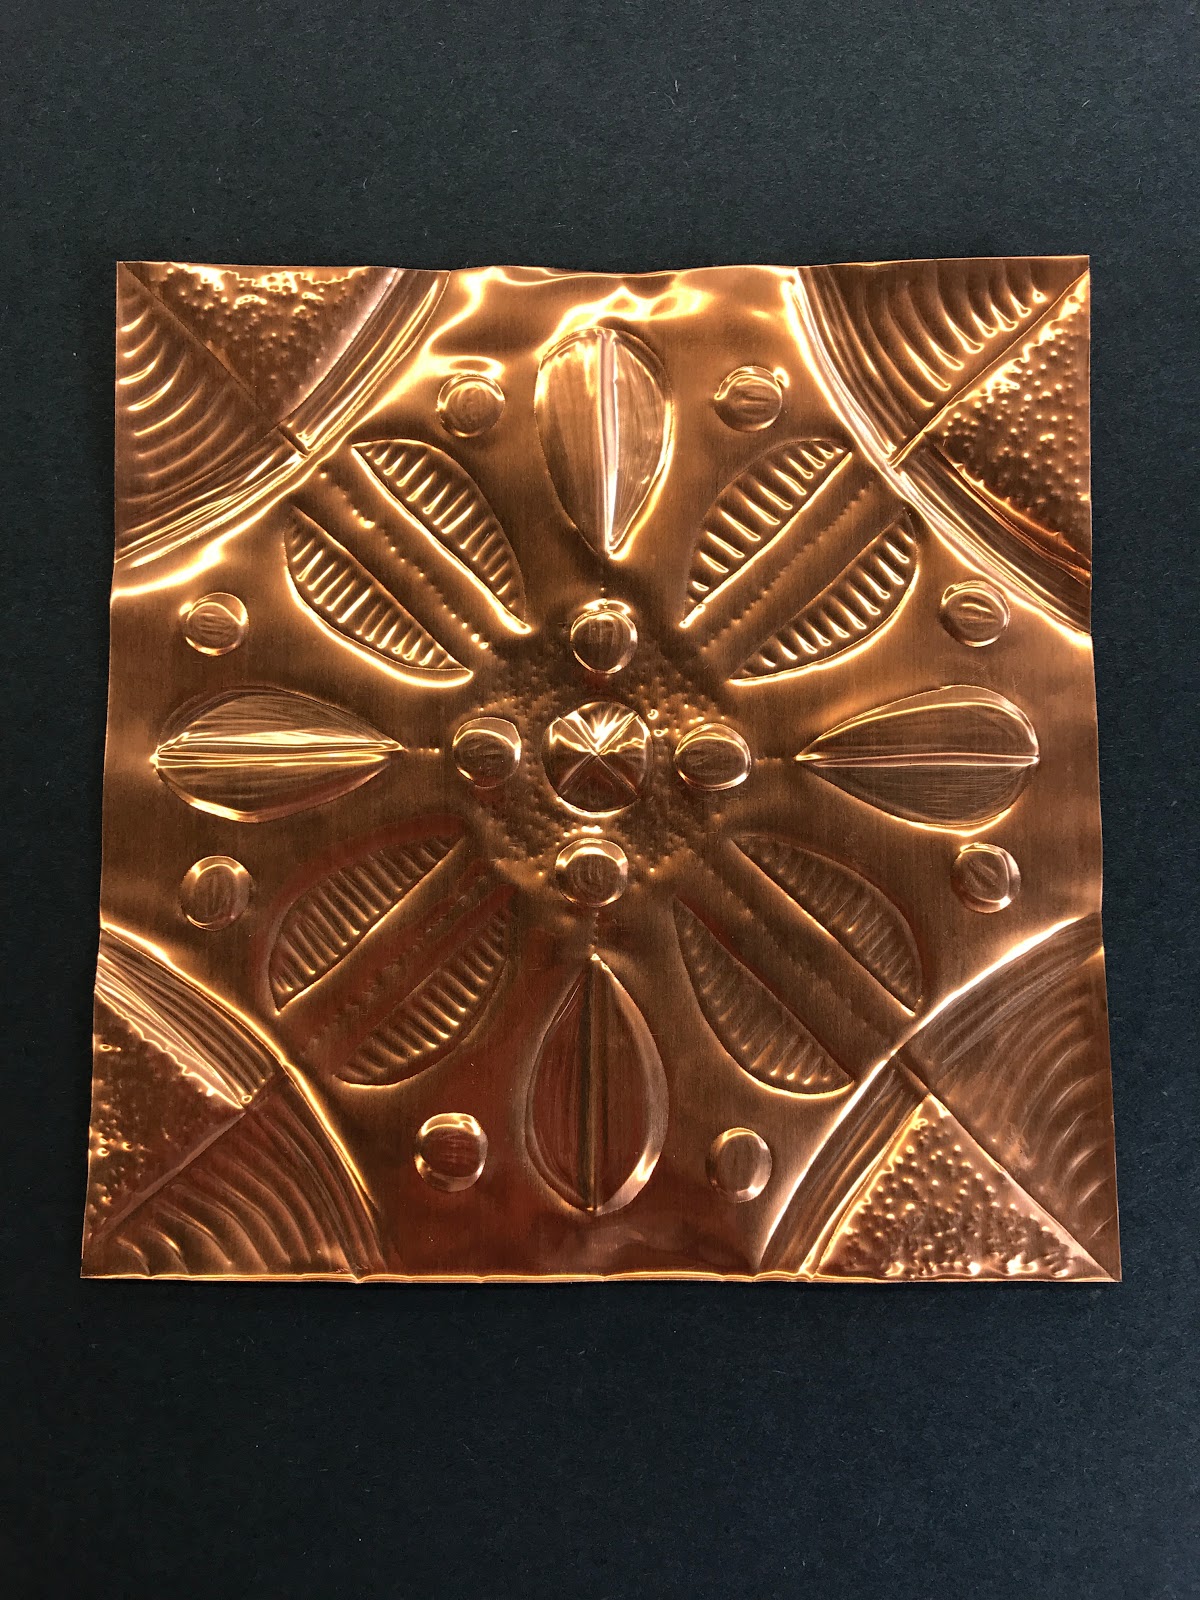
Students will embellish the metal from both sides of the tin.
Texture will then be added to
their design with the wooden
stylus, such as dots and
lines etc.
newsprint drawing. With a wooden
stylus tool, students will go over
the design on the metal. Be sure
to have newspapers or magazines
under the metal when tooling!
This cushion will allow for a deeper
groove and a better 3 D design.
Students will embellish the metal from both sides of the tin.
Texture will then be added to
their design with the wooden
stylus, such as dots and
lines etc.
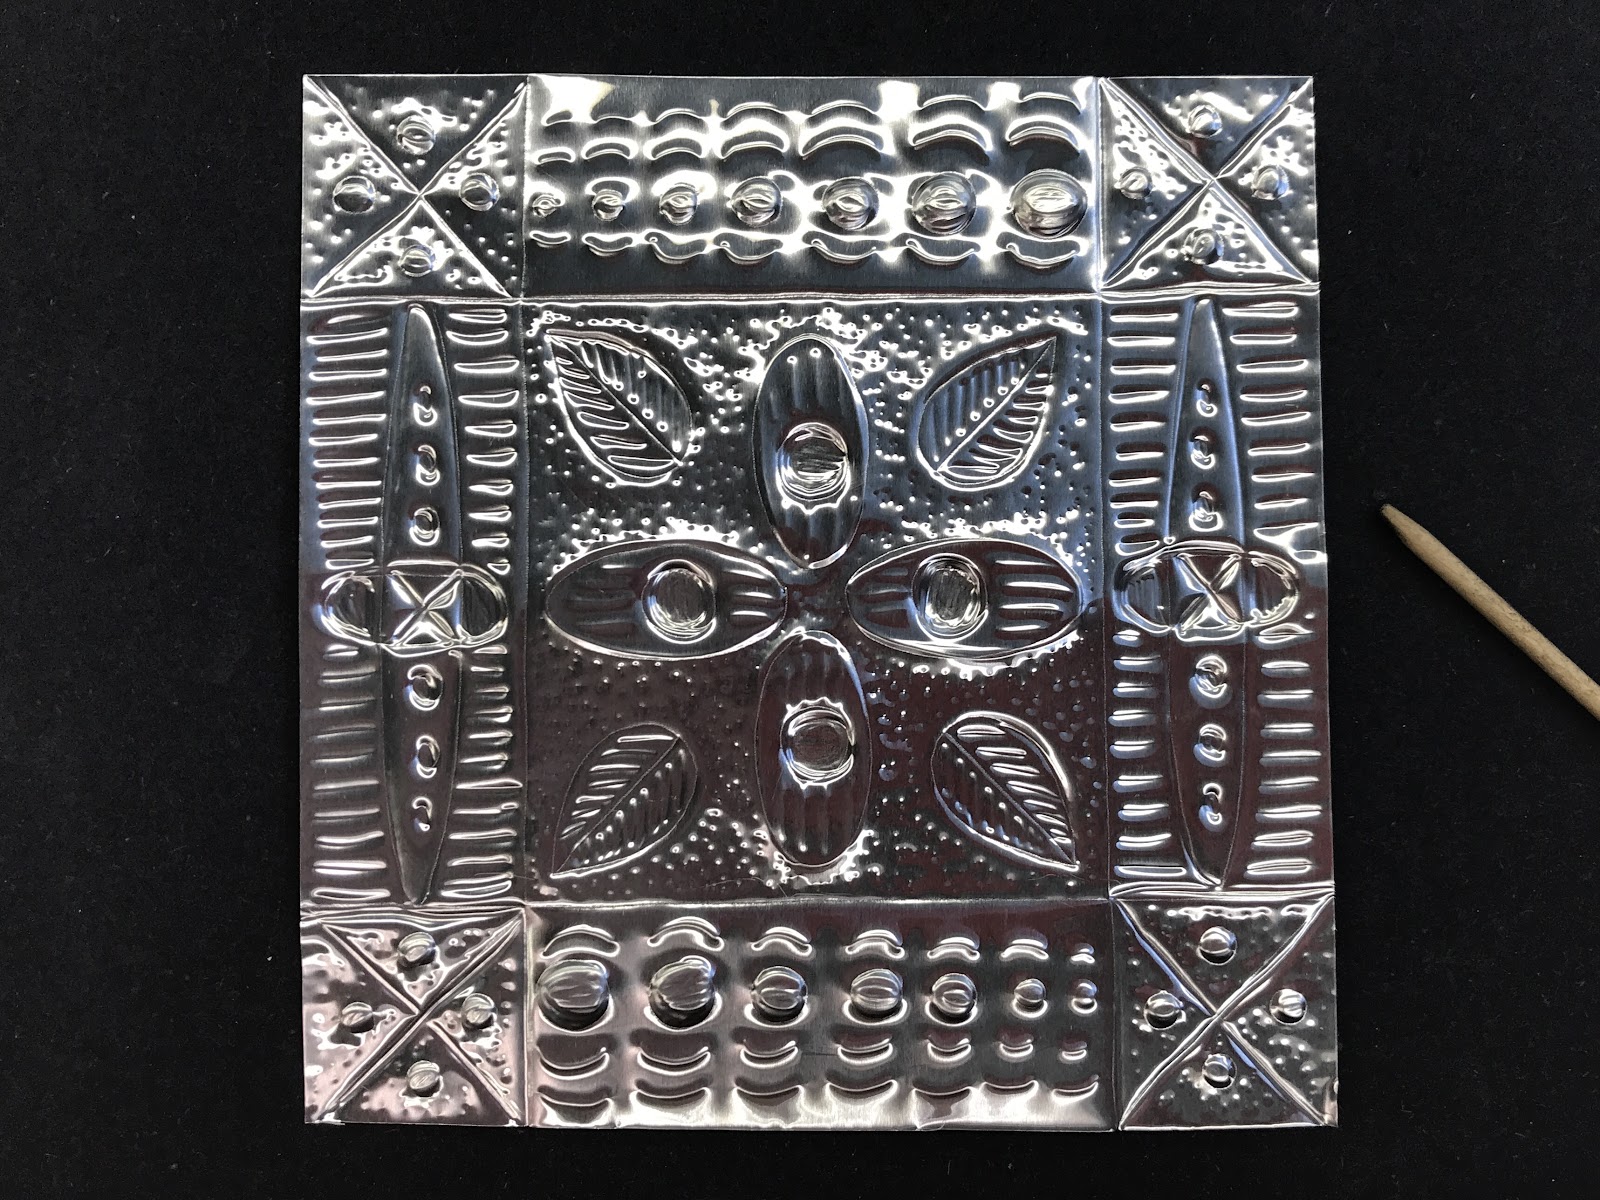
Day 4:
Students will complete their tooling
designs and turn it in for evaluation.
Students will complete their tooling
designs and turn it in for evaluation.


Evaluation Questions -
Did the student follow the given
directions?
Did the student create a finished
3D Tin Ceiling Tile design?
Did the composition fill the given
space?
Did the student tool
from both sides of the metal?
Did the student add texture using
lines and dots?


take their completed tooling
design to Industrial Arts
Class. There, they will design
and construct a wood frame
for their metal creation.

